

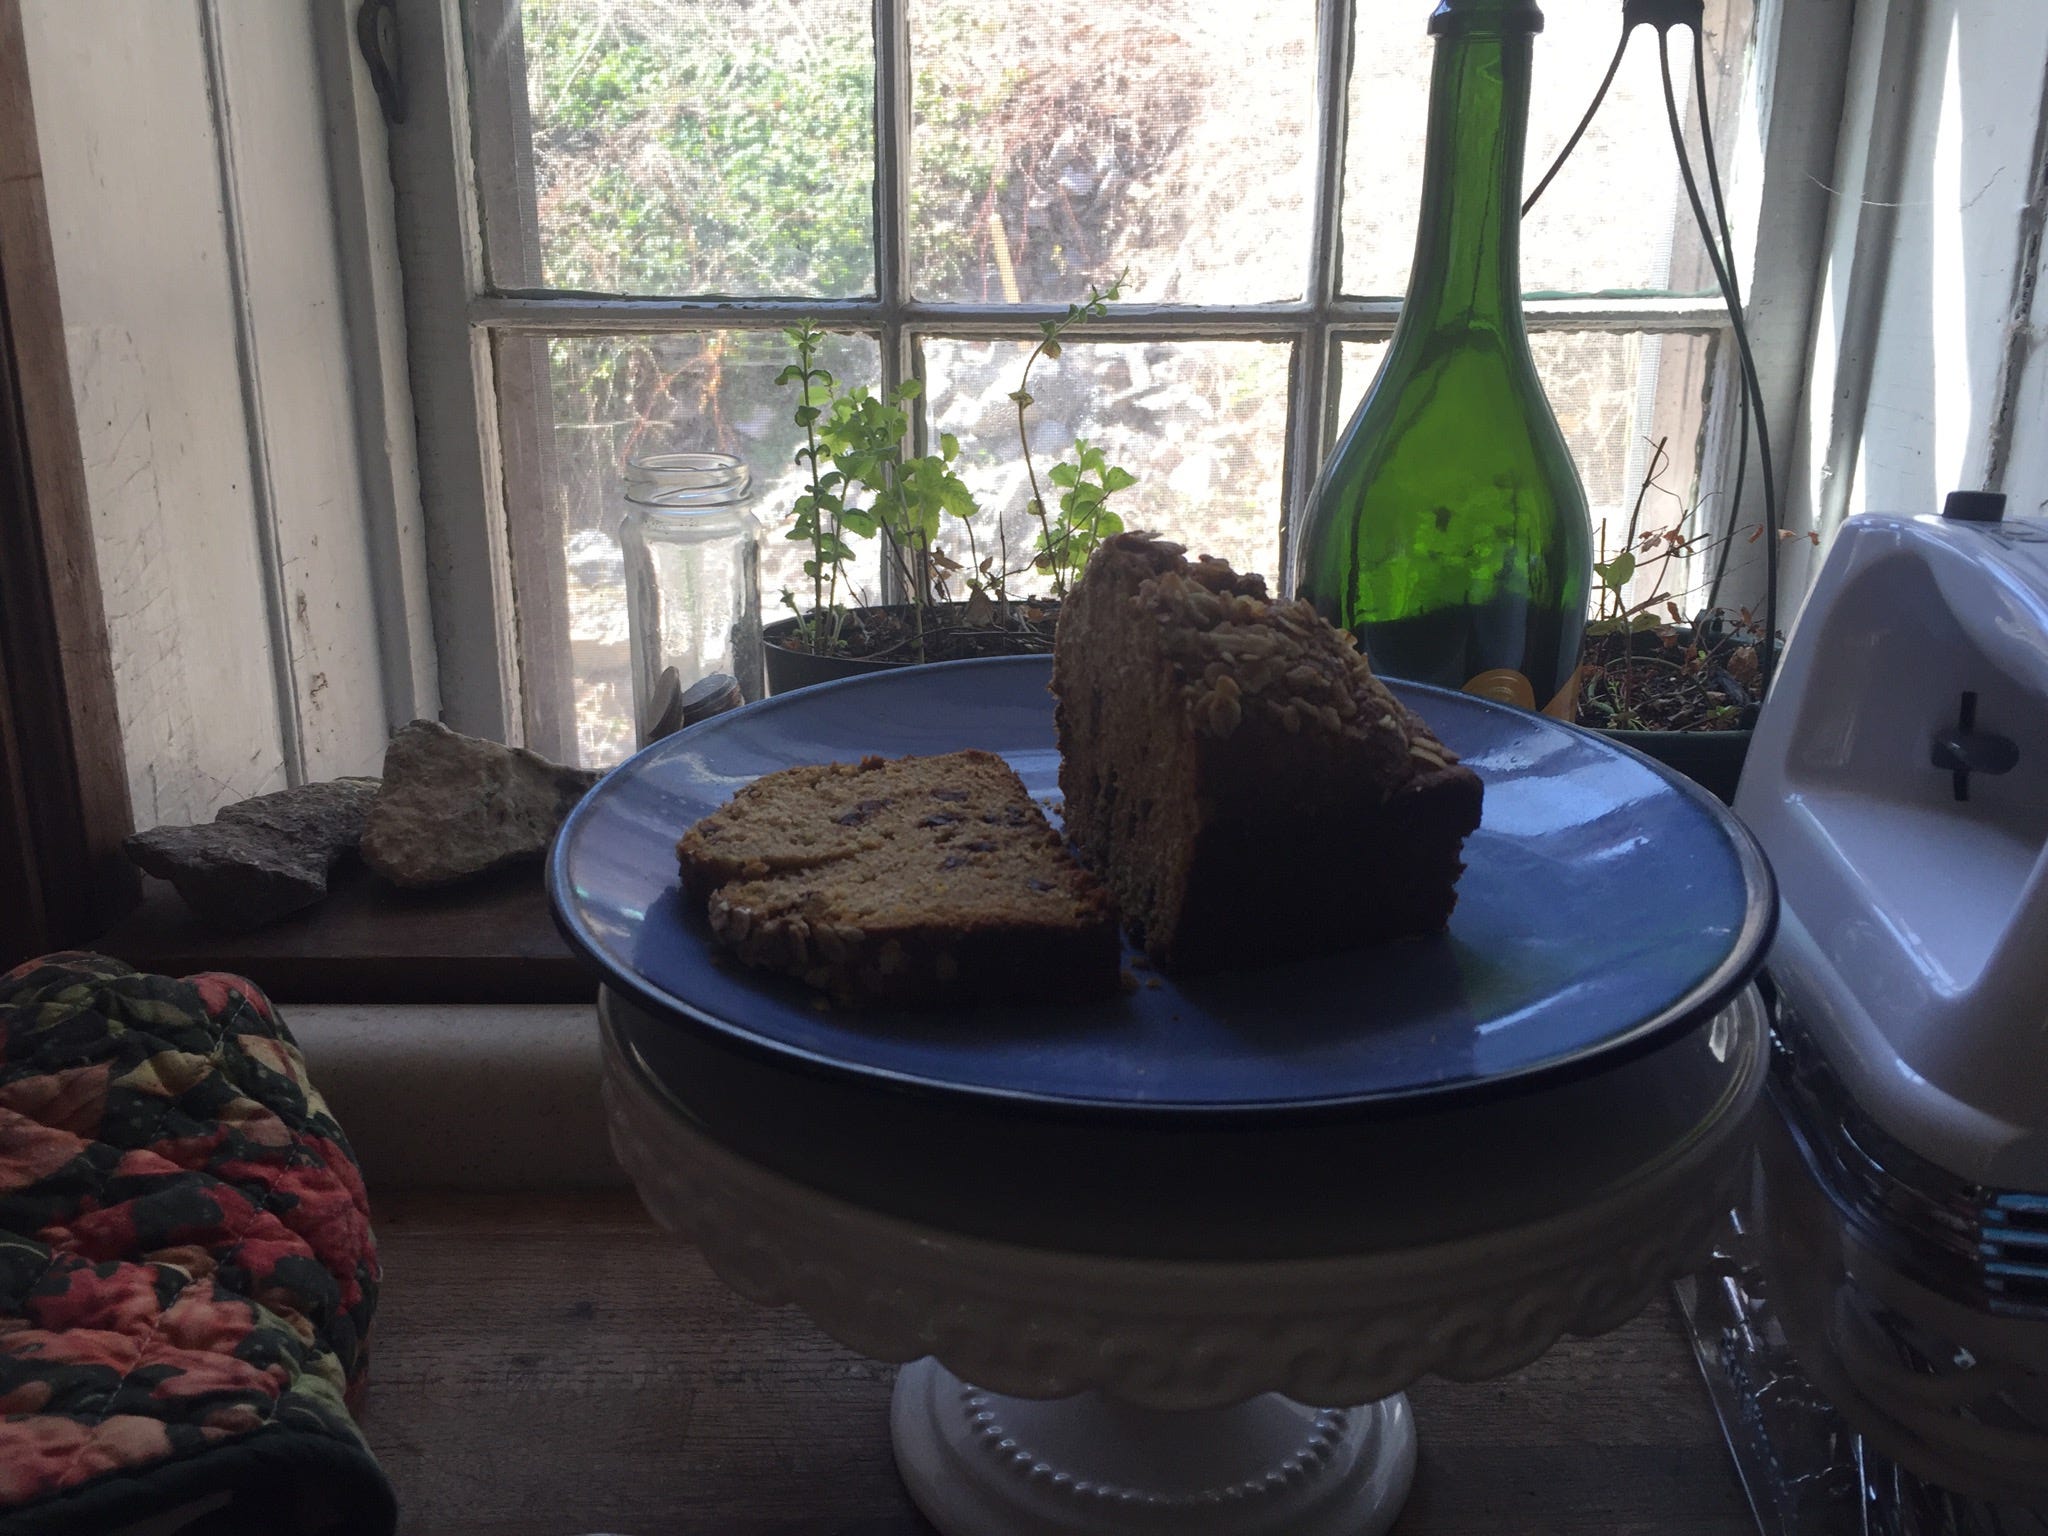
Kabocha squash bread w/ chocolate chips
Kabocha squash bread w/ chocolate chips
breakfast bonus!

Bonus issue! Today I am sharing a recipe by Will! Kabocha squash quick bread with chocolate chips.
It’s nice to have something sweet (not overly sweet) in the morning, and to have baked something early in the week that’s ready to go every day—like a piece of breakfast bread in the morning. Chocolate is also a necessary part of my diet, so we often make a chocolate chip loaf of some kind—we’ve made them lots of different ways, with alternative milks, with squash, in more traditional ways, with different kinds of fats, etc.
This version we’re sharing today - with kabocha squash and chocolate chips - is so good! It’s too tasty not to be eaten quickly!
Kabocha Squash Bread
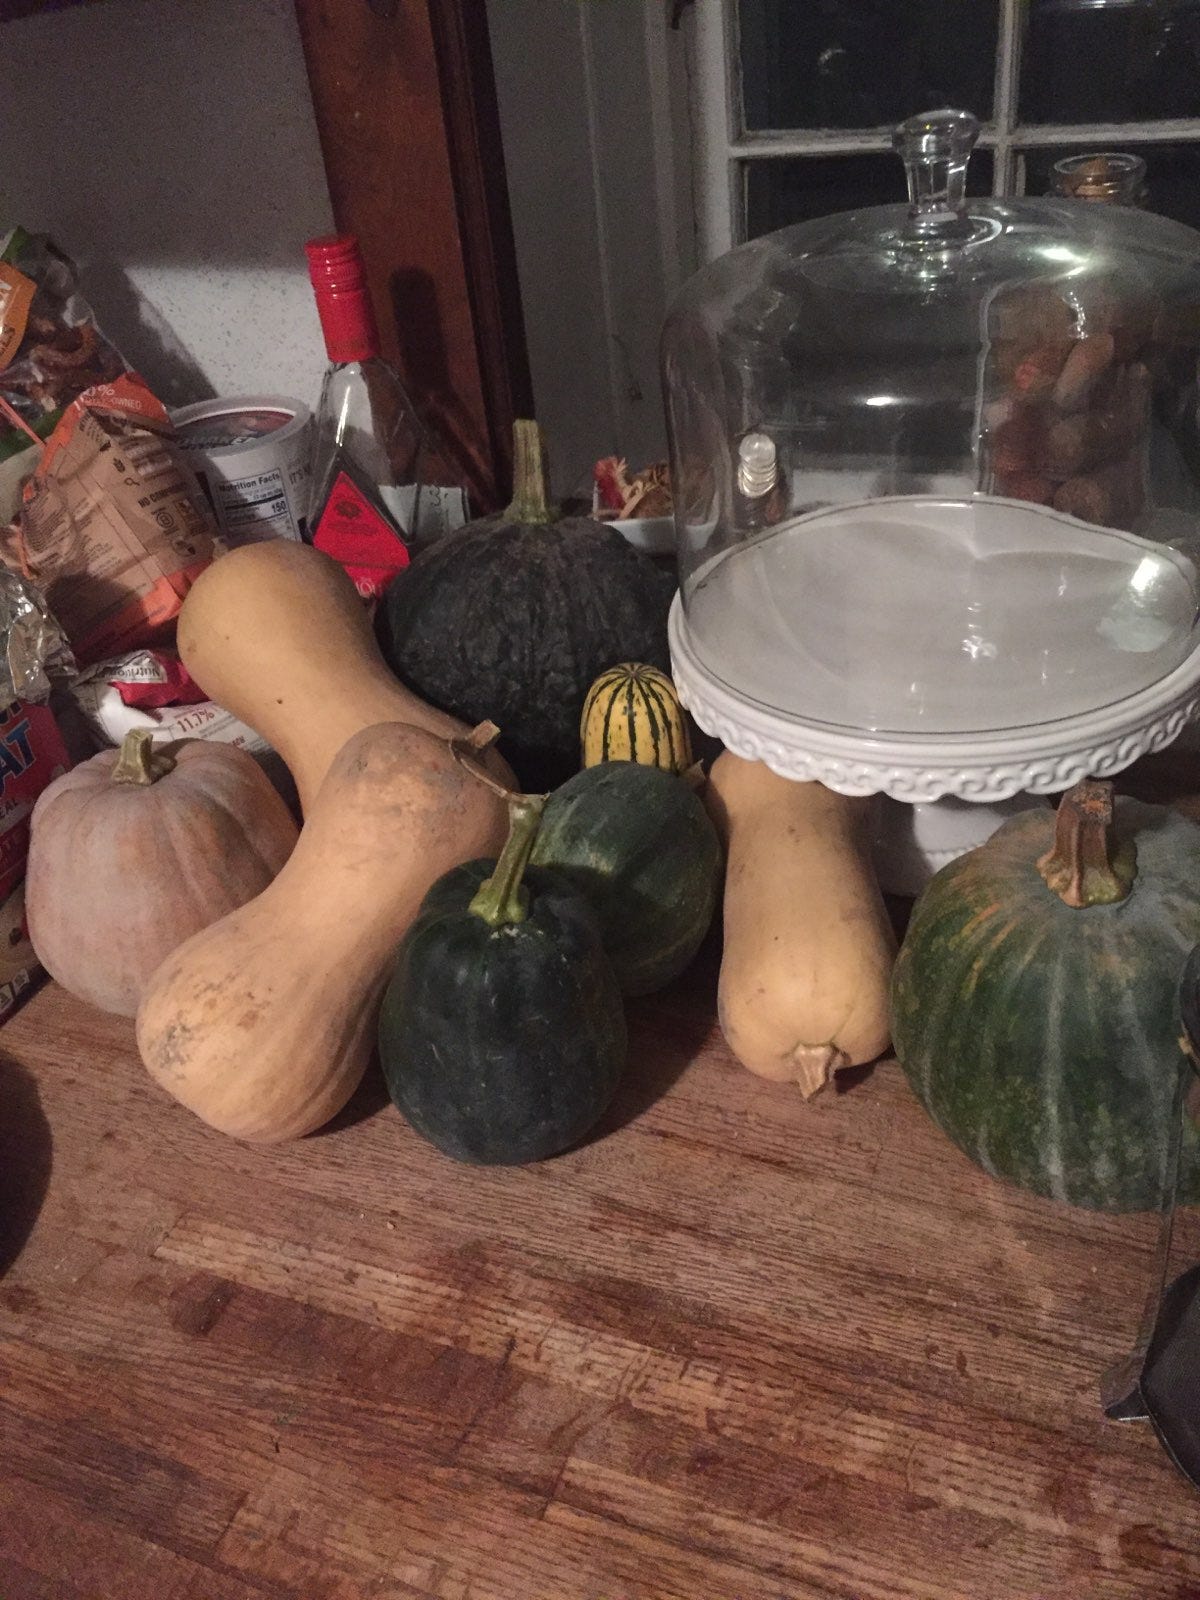
I grew a lot of winter squash last season and so had a lot lying around this winter. (Among other uses) I like to roast winter squash when I have something else in the oven, scoop out the flesh, puree, and freeze. Then the squash is ready to go, for quick breads especially, but for anything: oatmeal, tarts, risotto, whatever.
I basically use this method with any winter squash, but particularly (this year) kabocha and koginut.
To roast winter squash:
Cut squash in half or quarters.
Lightly coat with oil.
Roast in a pan at 350-400F until soft (check at ~30 min).
(Since I often do this if I’m roasting or baking something else in the oven, then just freeze the pulp, I don’t really have a set temperature/time).
To bake the bread:
~1 cup squash puree
1 egg
<1/2 cup oil (I use olive)
<1/4 cup milk (if needed)
1/2 cup brown sugar
1/2 cup white sugar
1 3/4 cups flour
1 teaspoon baking soda
1/2 teaspoon salt
2 teaspoons cinnamon
mini chocolate chips
bit of nutmeg & cardamom, if you have
some oats & cinnamon & turbinado (or similar) sugar, for top
Preheat over to 375F.
Grease pan (ours is 8” x 4” I think).
Combine wet ingredients & sugars.
Combine dry ingredients.
Stir dry ingredients into wet, stir in chocolate chips, don’t over-mix.
Pour into pan.
Sprinkle oats, then cinnamon, then turbinado sugar over top.
Bake ~40 minutes and then check every 5 minutes or so, until done.
Note: Most recipes would probably have you bake this closer to 350F. I like the crust and don’t mind baking at a hotter temp, particularly because I often bake multiple things at once and prefer to maintain a hotter temperature. But to avoid over-baking, consider baking at 350F for a ~30 minutes, then turning up to 375F to crisp up the outside.
Let us know if you try this recipe! Please like, share, and subscribe!