

Savory spring mushroom galette
Savory spring mushroom galette
with special guest: Deanna!

Welcome to a very special issue of Sundays are for baking! This issue features a recipe from my friend and a very talented cook & baker, Deanna!
If you think that the crust is only incidental to a pie or tart, especially a savory one, think again! Below, Deanna shares her recipe for a savory spring mushroom galette topped with snap pea salad, along with details on her crust-making process and how to achieve a well-baked crust with delicious & creative fillings!
Subscribe to this newsletter now if you haven’t yet, please share, and read on for the full recipe!
Most people identify themselves as either a cook or a baker, but usually not both. “Cooks” often say they like the freedom of experimenting without being beholden to exact measurements and a defined process, while “bakers” like this structure and organization. According to this division, I have always been in the “cook camp.” I am not very organized and the measuring process can feel like an unnatural interruption of the flow in the kitchen. I have baked countless cakes, cookies, pies, etc. over the years, but truthfully it hasn't been with the sheer joy and indulgence that I have cooking savory meals. However, this changed when developing my pie dough recipe.
I always made pie dough in a food processor like my OG cooking inspo - the Barefoot Contessa, Ina Garten. While she is certainly a culinary queen, I was not about this process. The trouble of taking out the food processor and cleaning its many parts felt more like a chore than anything. At a certain point, I ditched the processor and out of laziness used my hands. I heard Ina yelling in my head about the uniformity of “pea-sized” butter, but I continued on and made the best crust I had ever had. Later, I learned the way I was handling the butter and flour had a fancy french name (“fraiser”). The process of smearing butter in this way not only added to the flakiness of the dough, but also to the pleasure of making it. The physical connection between you and your ingredients is so incredibly important. It’s what I think people mean by “tasting the love” that goes into a meal. Developing this all-purpose (sweet or savory or both) dough provided me with the sense of freedom that I had not felt before in a baking context, and I hope it does the same for you. Once you have created the dough with confidence, you can fill it with whatever you’d like using the freshest ingredients at your disposal. This week, it was mushroom and onion with a fresh springtime snap pea salad—next week hopefully strawberry and rhubarb!
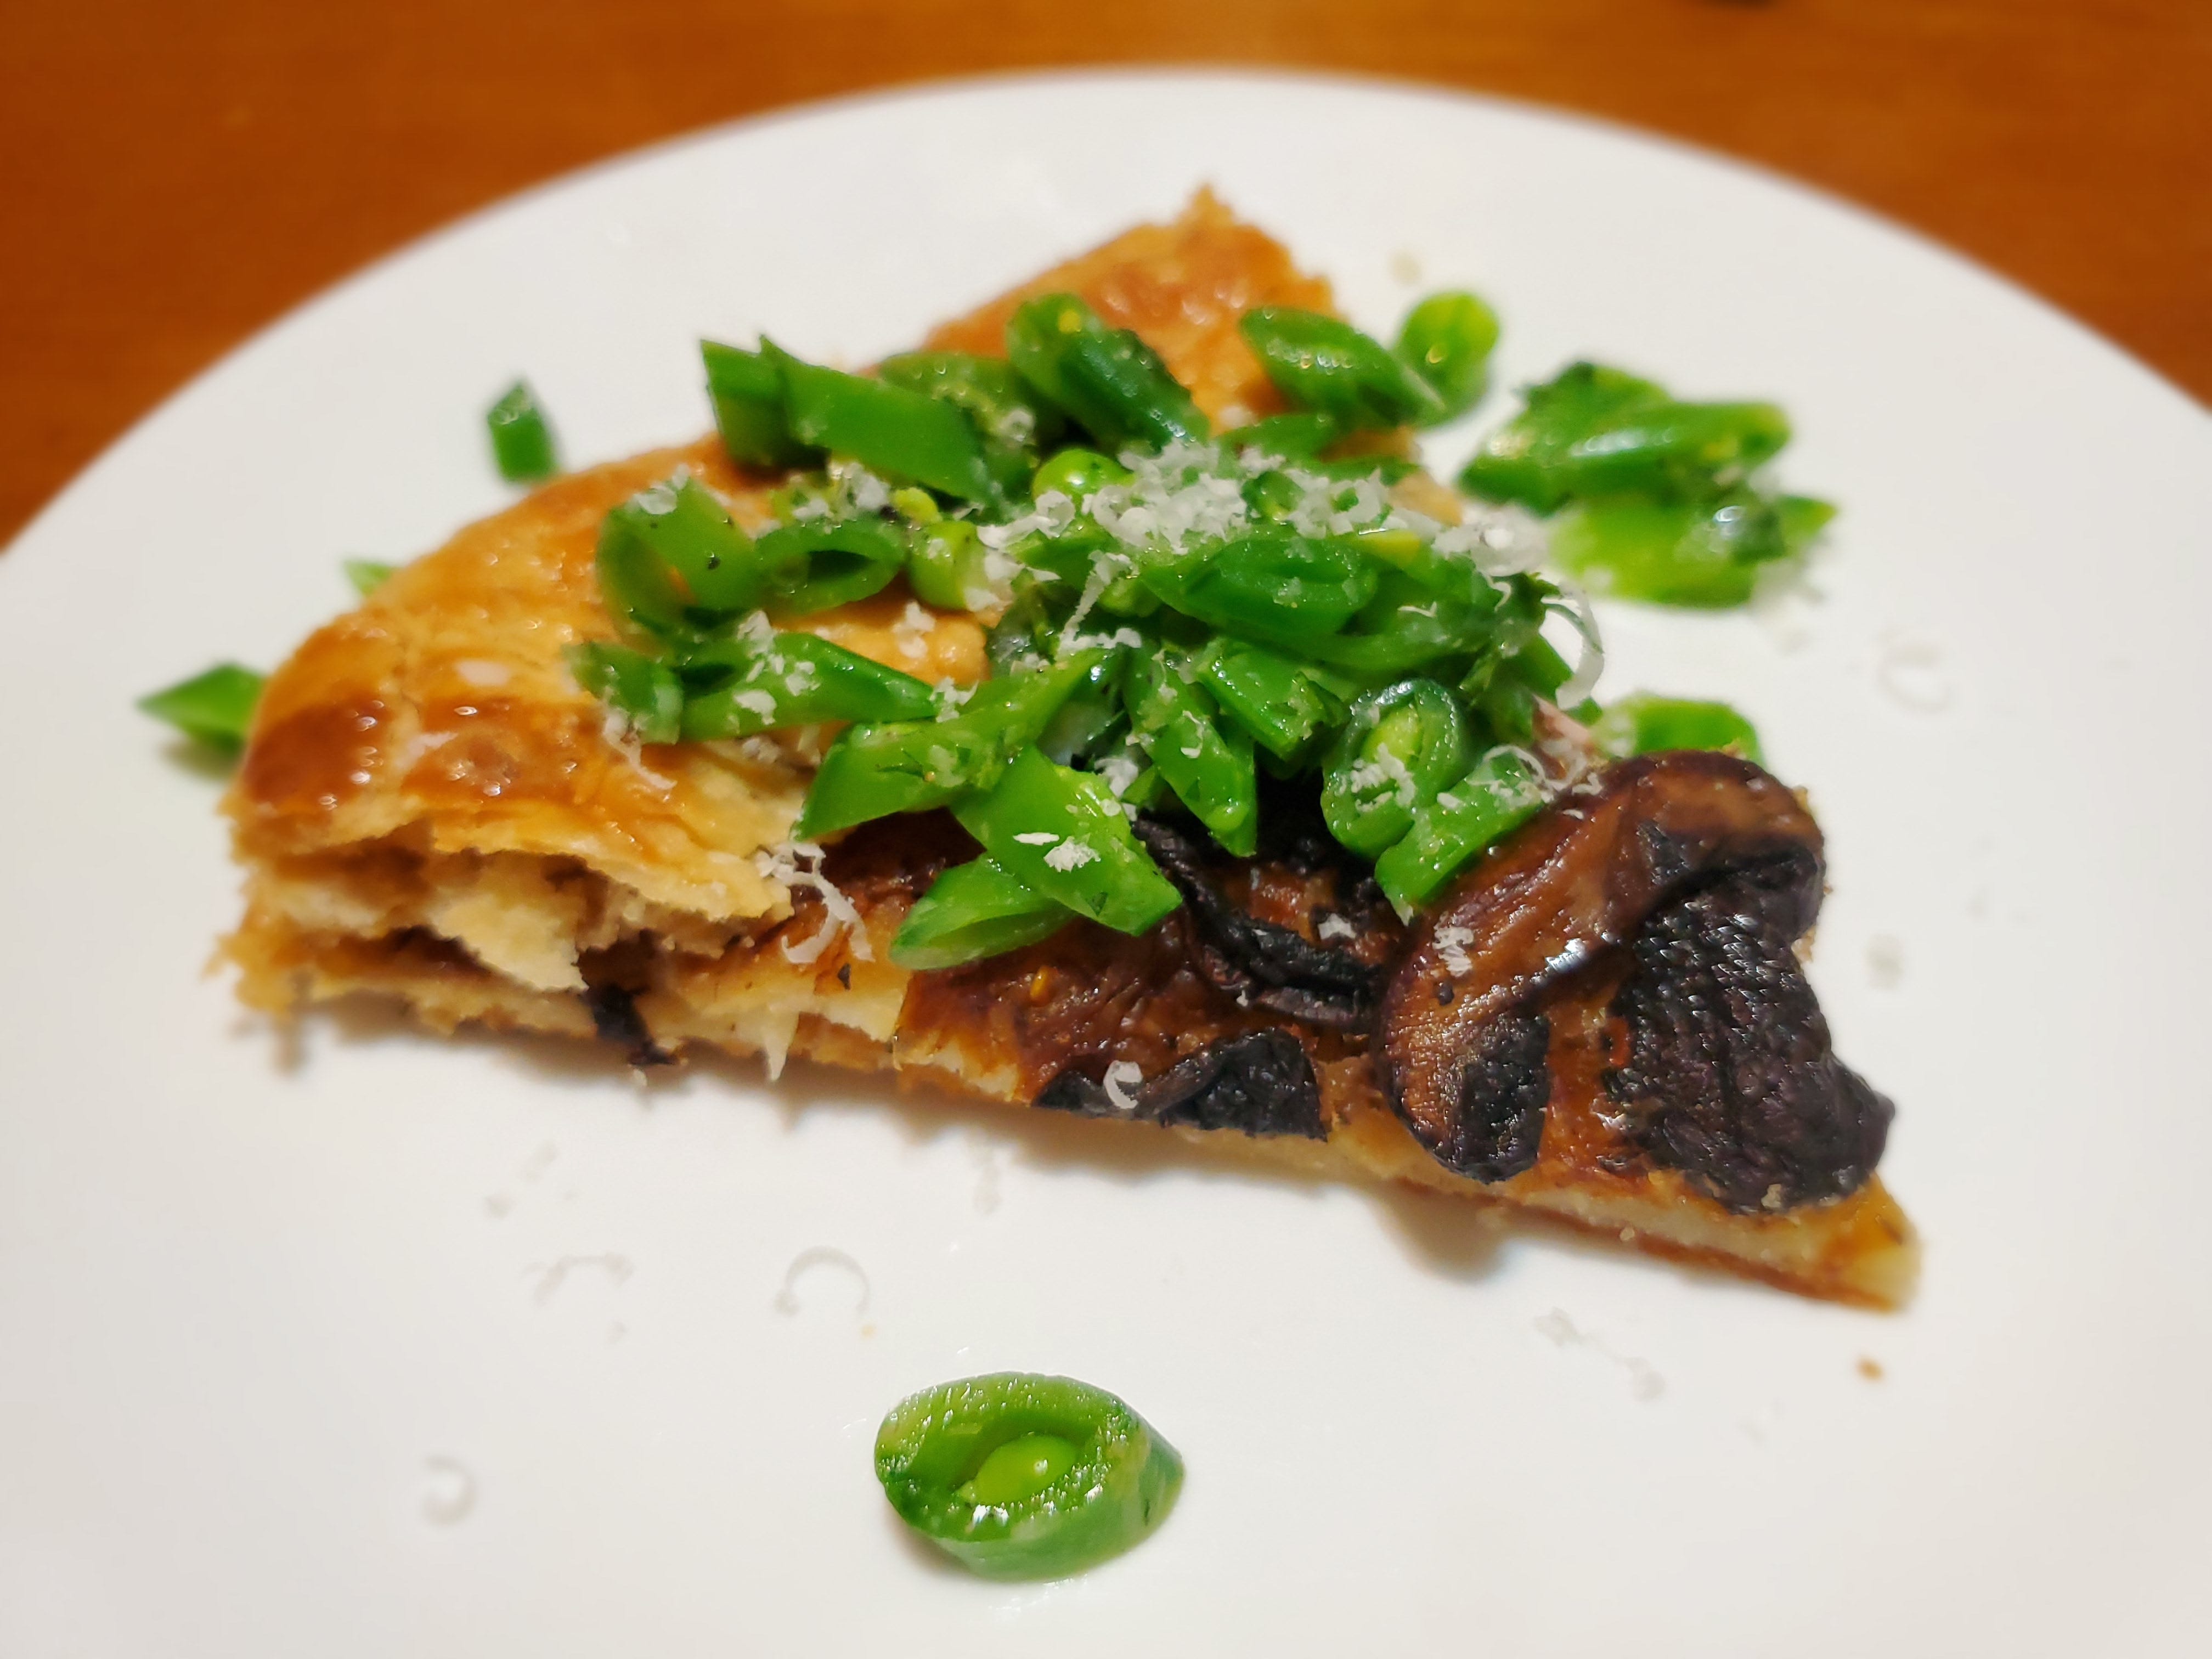
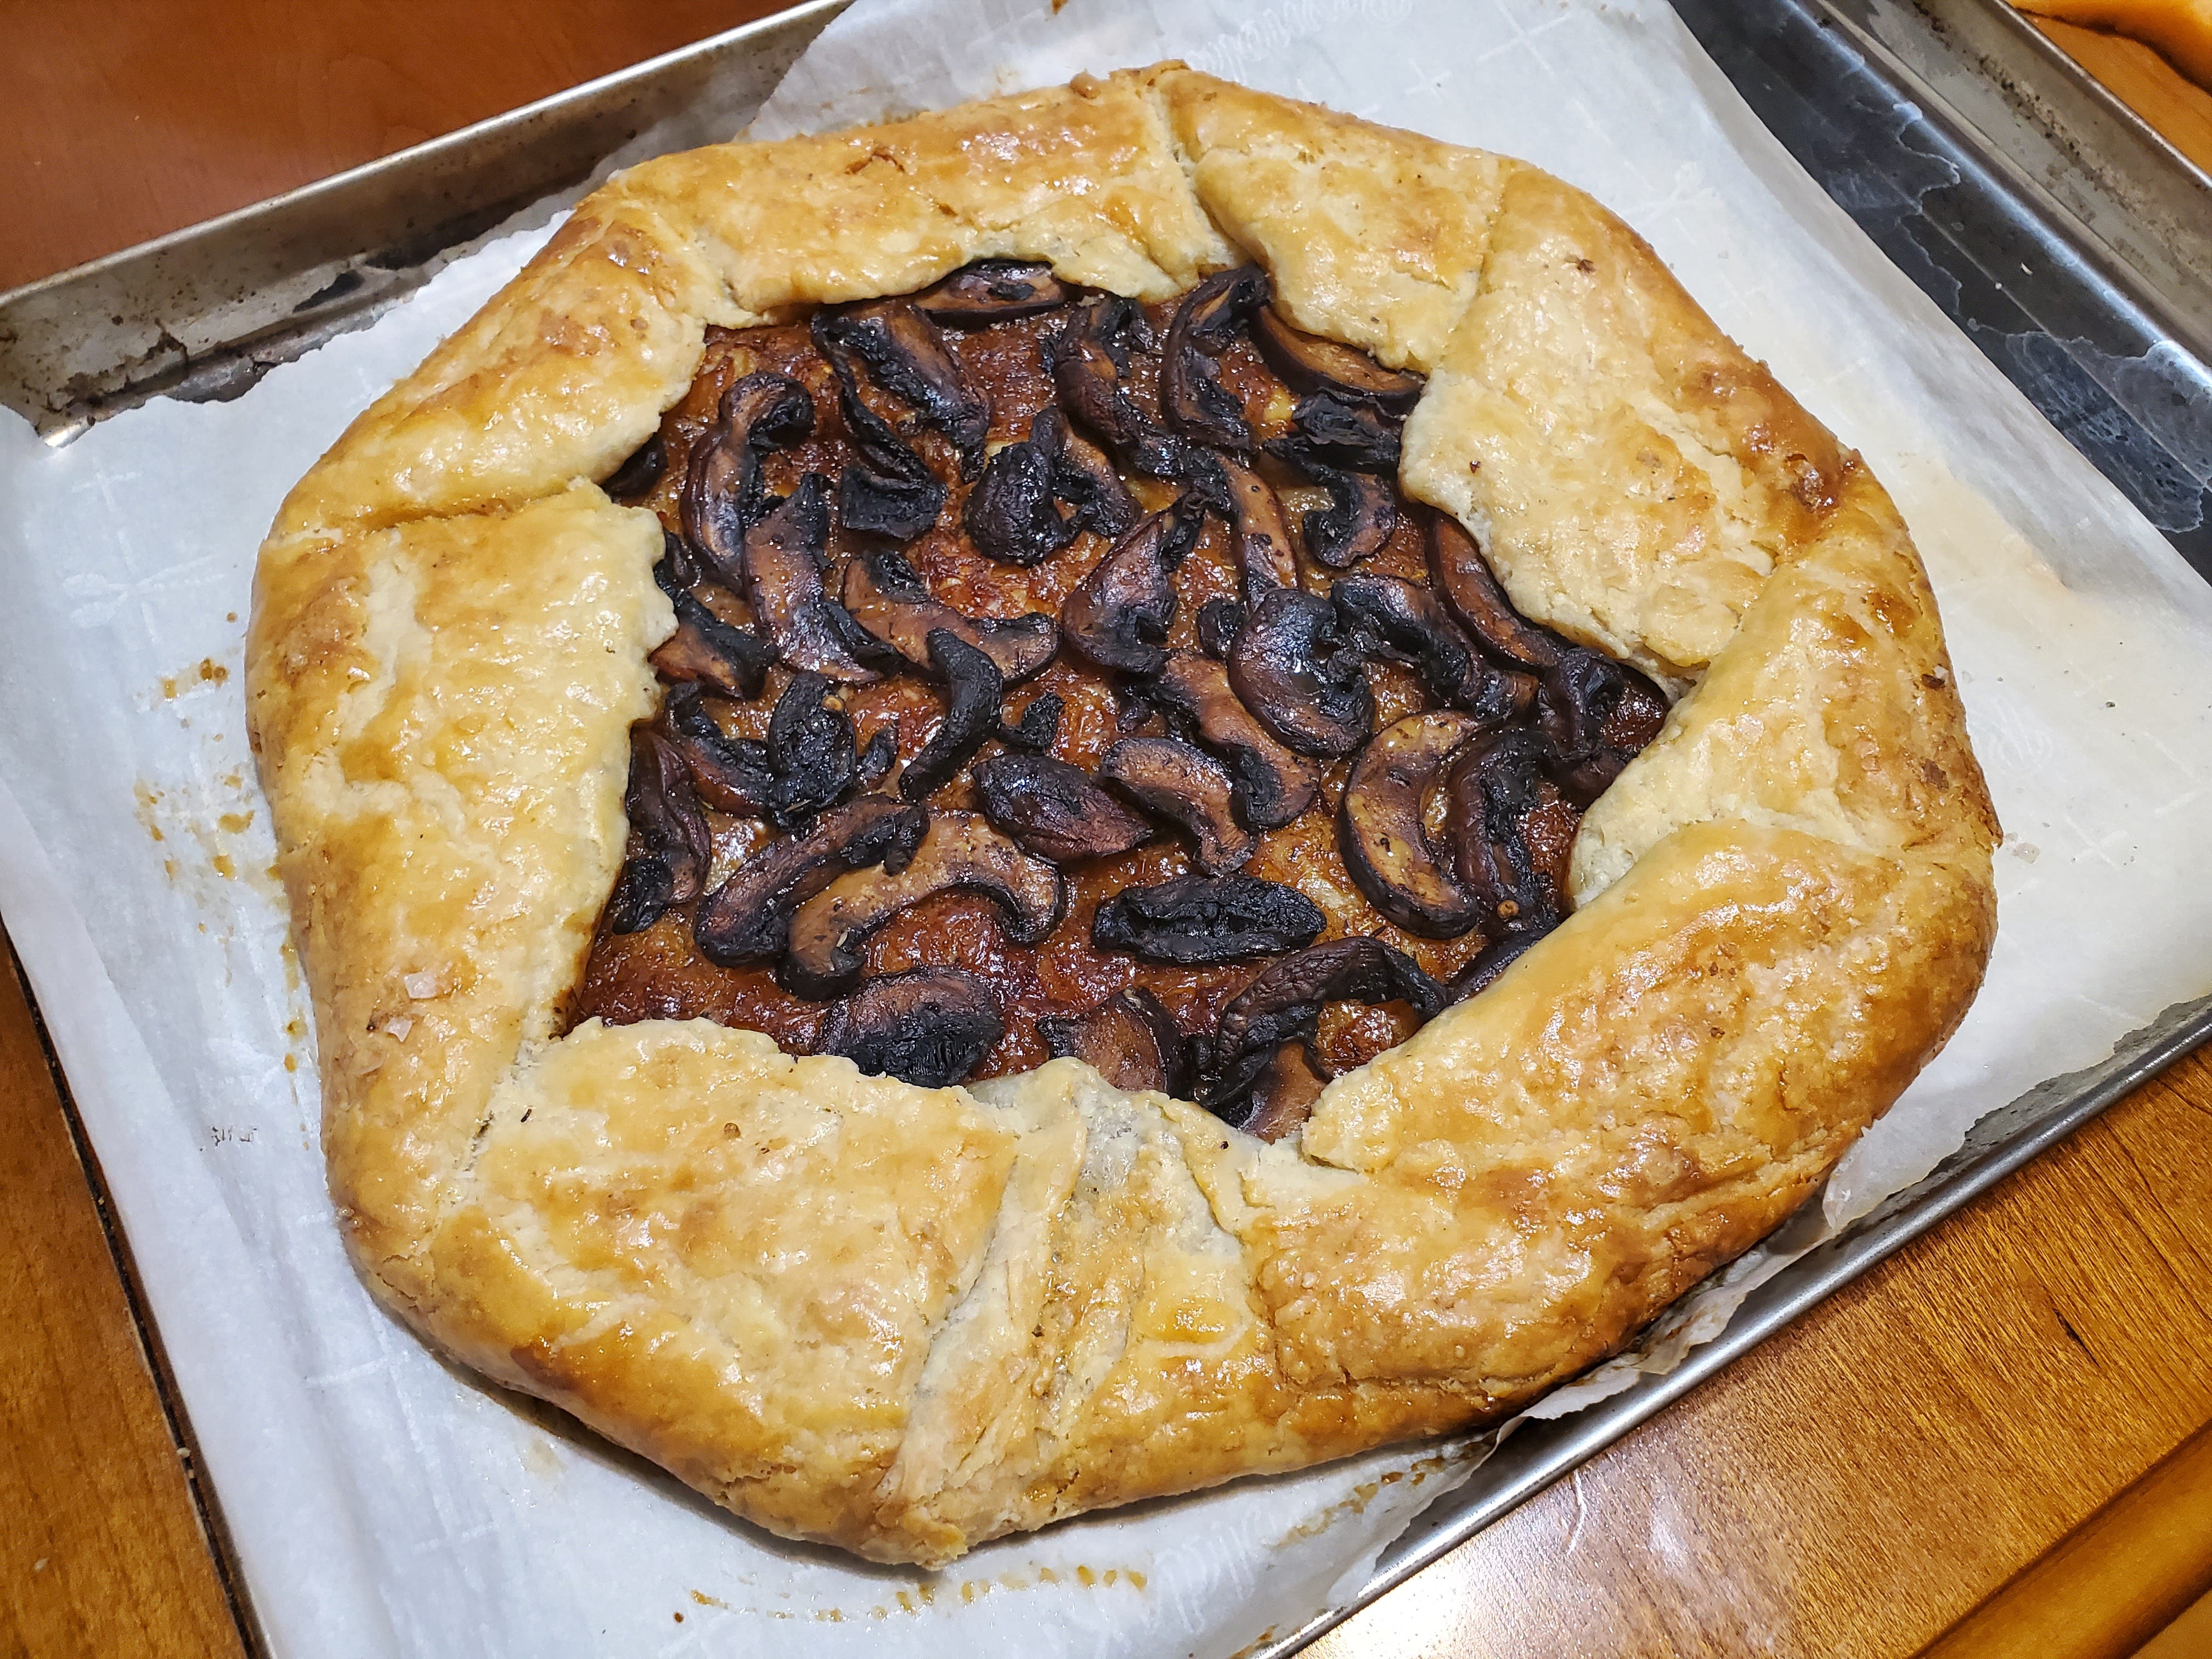
Savory Spring Mushroom Galette
The crust described below can be used for both savory and sweet tarts, pies, and galettes—it's magic! Get creative with fillings based on the season and what you have lying around.
Ingredients:
Crust:
2 cups all-purpose flour
1 teaspoon salt
1 tablespoon sugar
1 cup (2 sticks) very cold butter, cubed
1/2 cup ice cold water (note: may be subject to change within 1/4 cup)
Filling:
1 large onion, or two medium, thinly sliced
1 teaspoon herbes de Provence (note: you can replace with dried thyme, oregano, or some combo)
1/2 teaspoon red pepper flakes
1 pound mushrooms (any variety!)
1/2 cup grated parmesan cheese
1 egg, lightly beaten
butter
olive oil
salt & pepper
Optional salad for topping:
2 cups sugar snap peas
handful parsley, roughly chopped
half a lemon - zest and juice
olive oil
salt & pepper
grated parmesan cheese
To make the crust:
1. Mix all of your dry ingredients together.
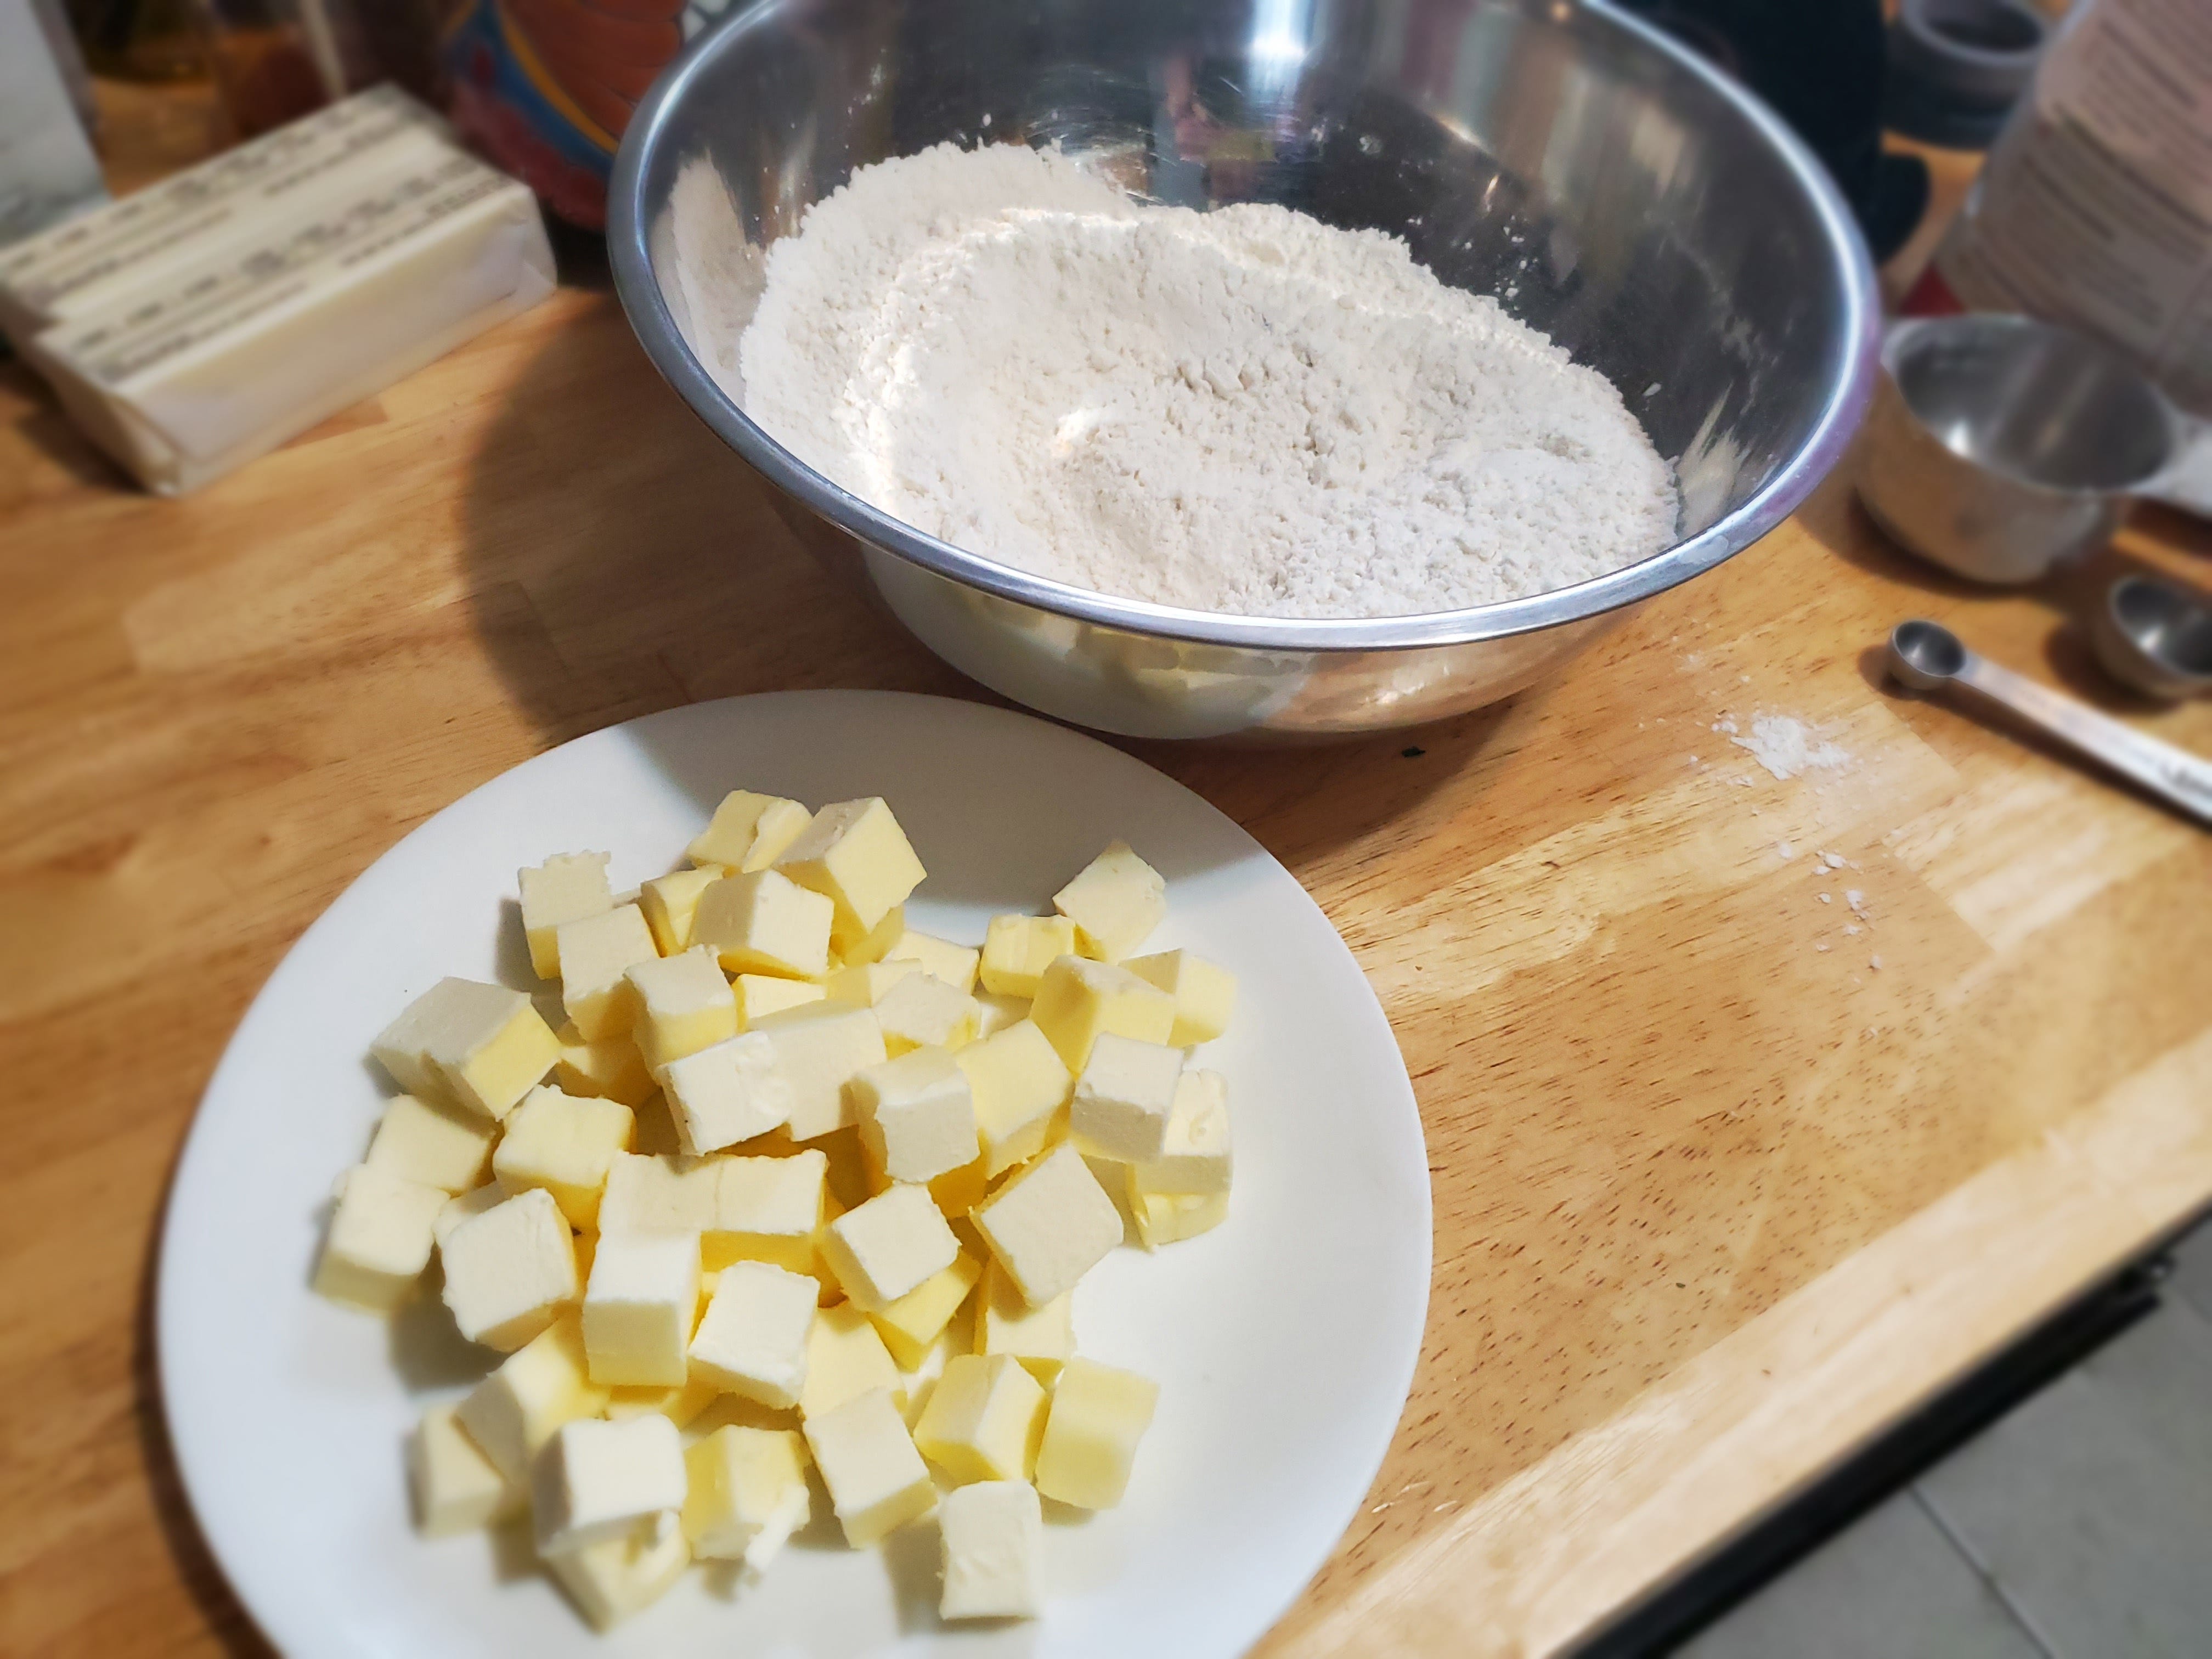
2. Throw in your butter cubes, breaking them apart into the flour mixture.
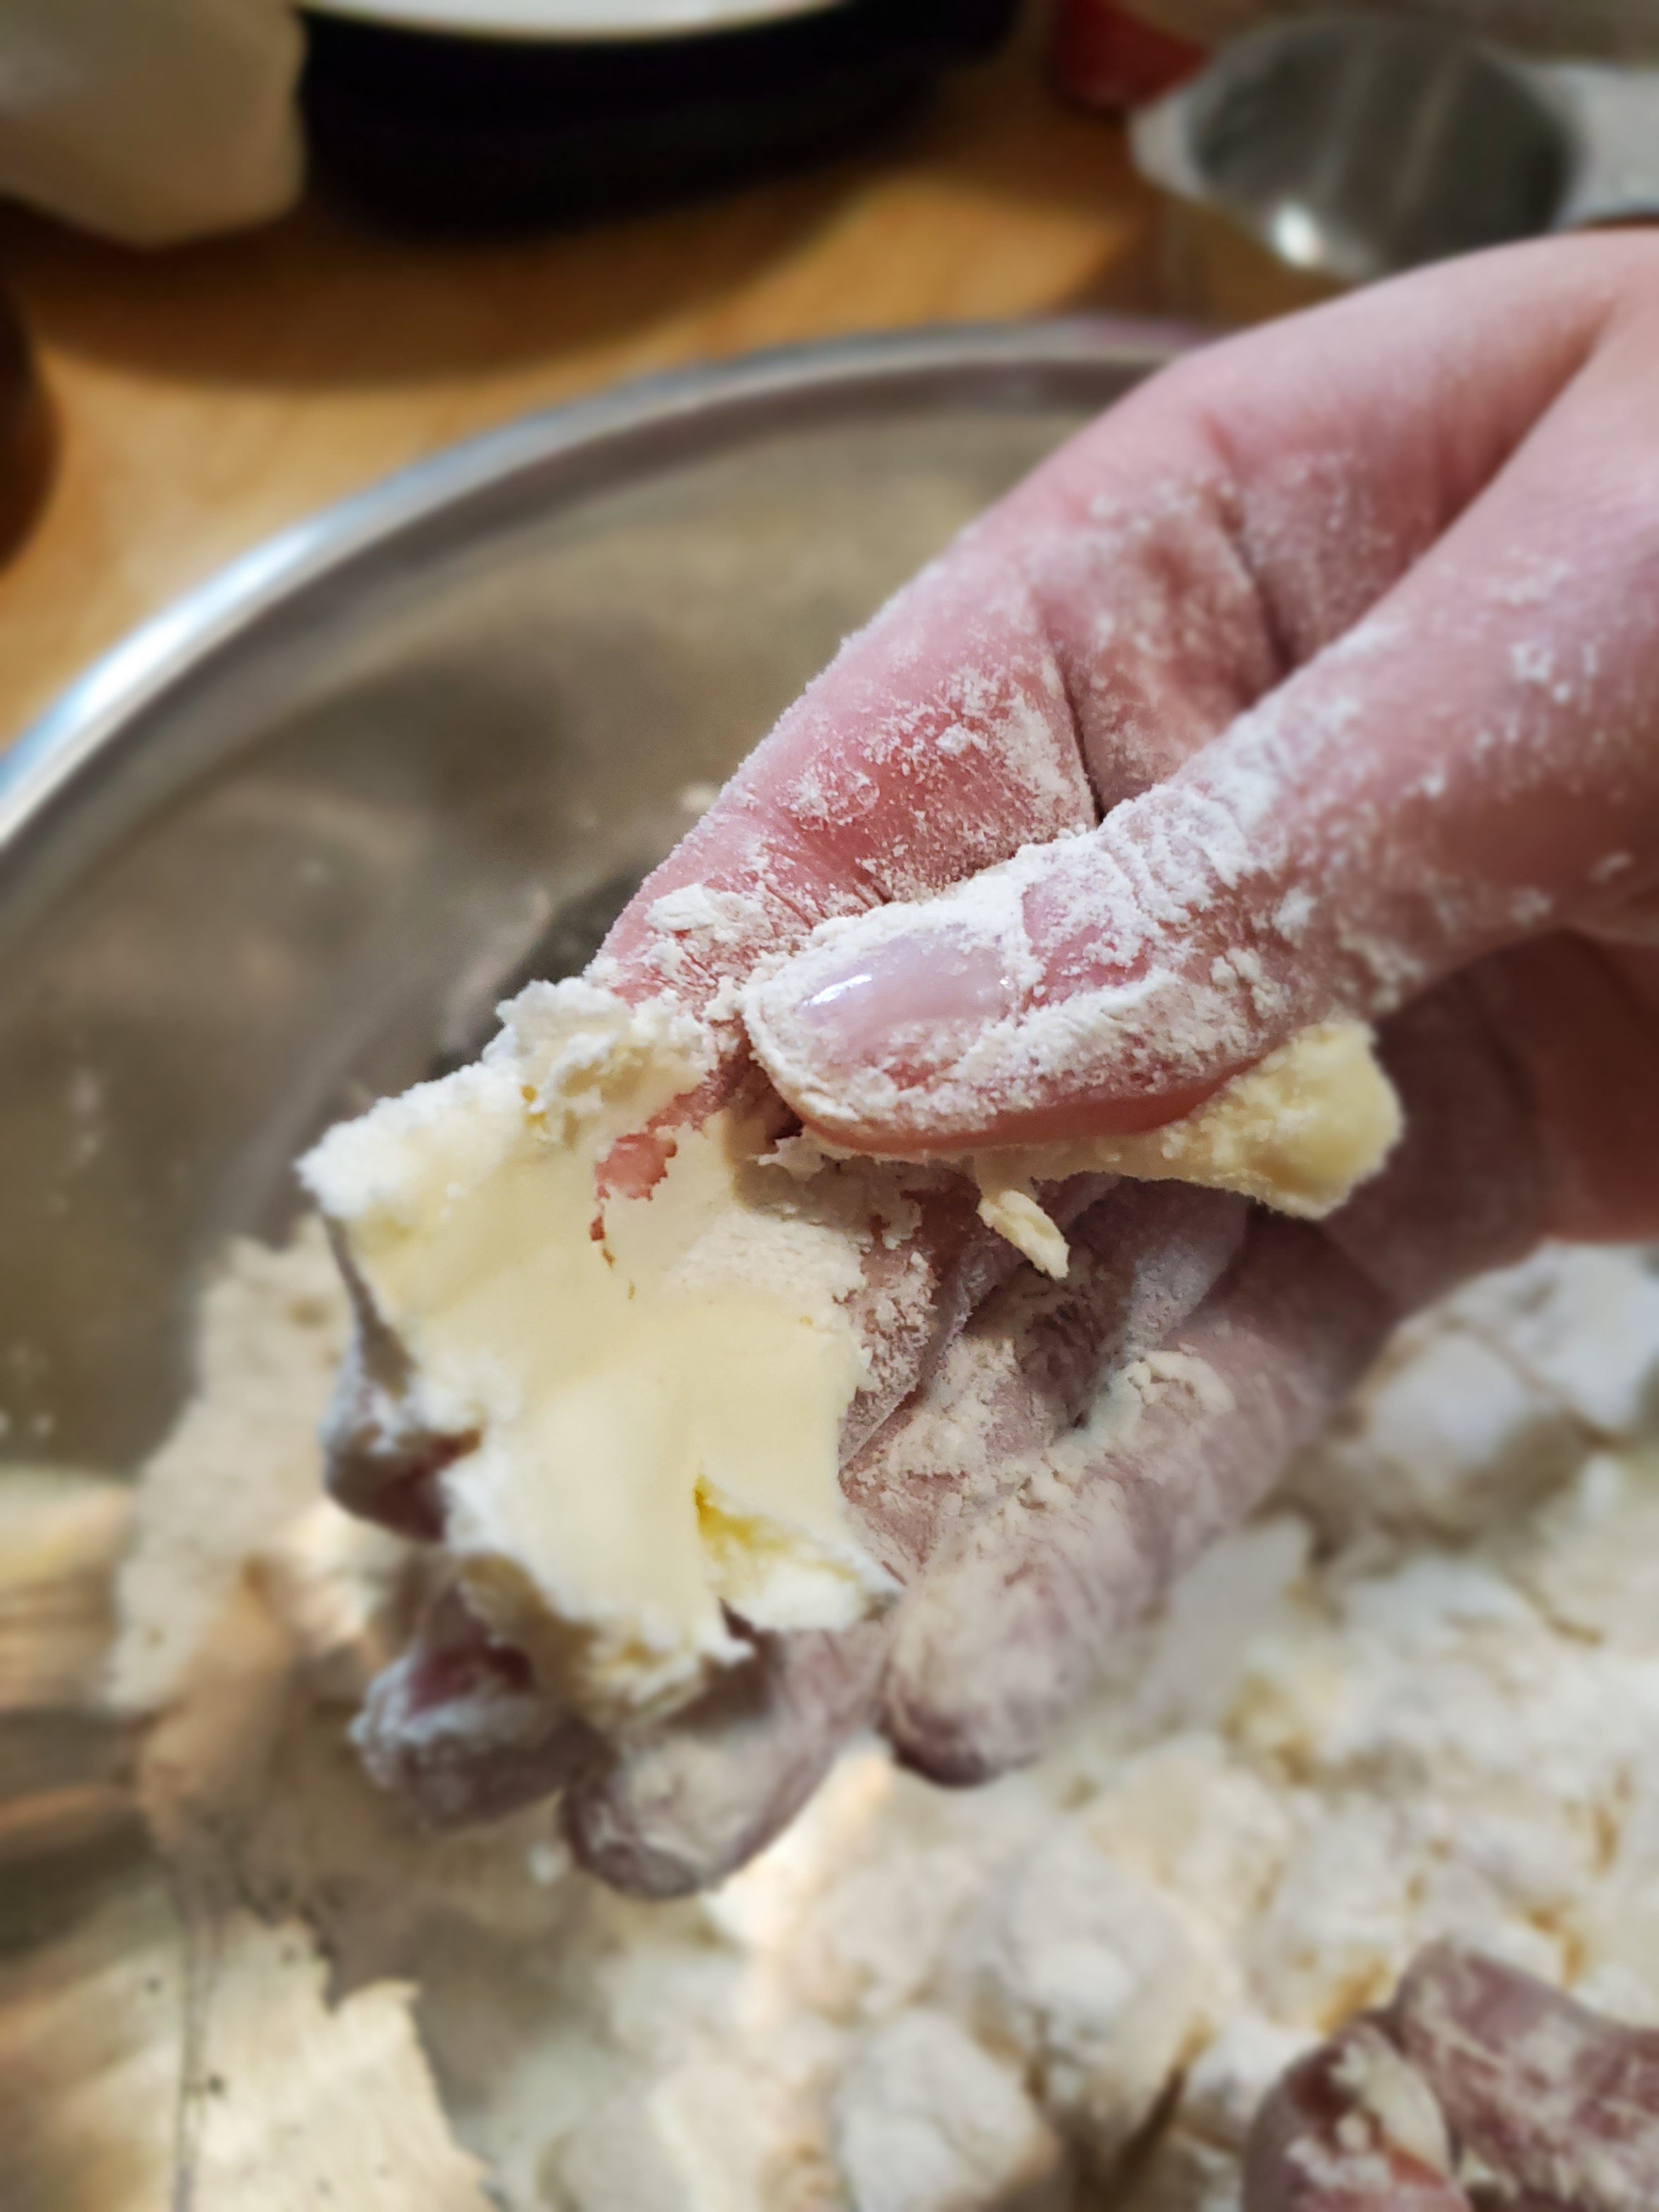
3. Smear each butter cube in between your fingers, making little sheets of butter, and incorporate into the flour mixture. See photo for reference.
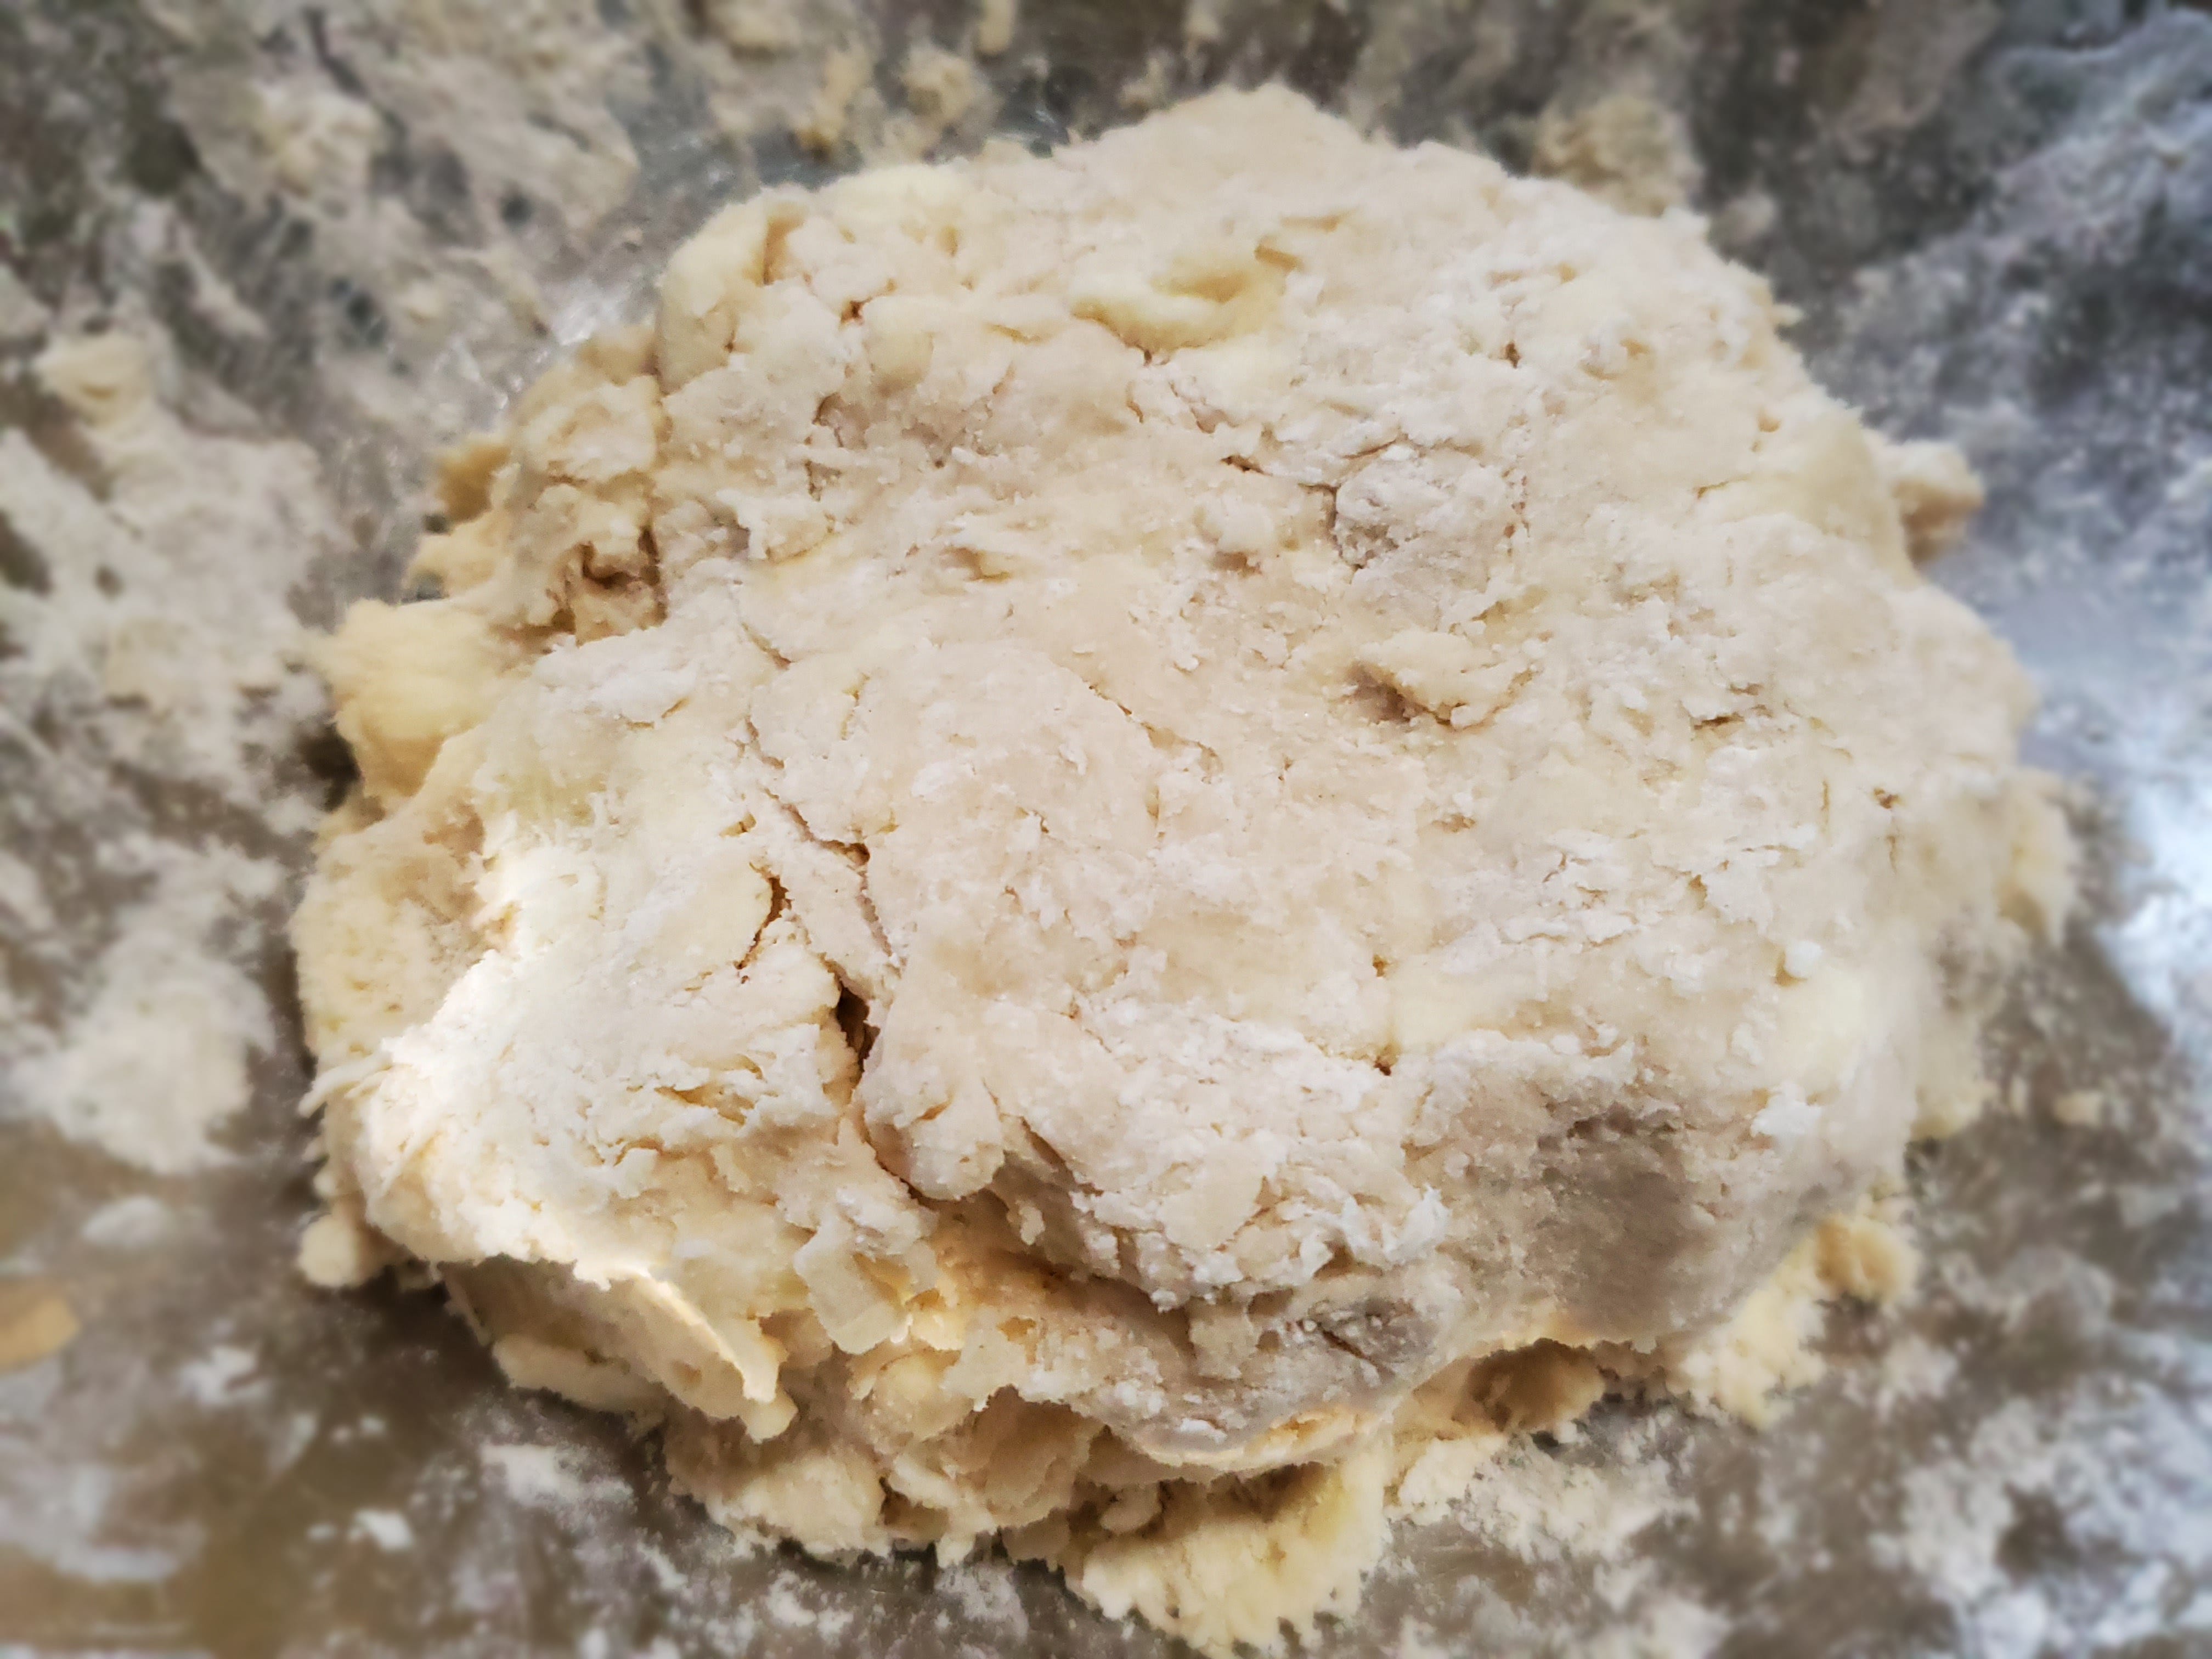
4. Mix in cold water, starting with the 1/2 cup. If you notice it is too dry, add a little more. Mix just enough so the dough forms a ball that holds its shape but is slightly crumbly around the outside. If it is too dry, it won’t hold together; and if it is too wet, it will stick to your fingers. If you incorporate too much water you can always balance it with a little more flour.
5. Cover the ball tightly in plastic wrap and pop in the fridge for at least half an hour. This will give the flour a chance to fully hydrate, and the butter to chill after becoming slightly warm from the mixing process. While the crust is chilling, you can get started on the filling.
To make the filling:
1. Heat about a tablespoon of butter and oil in a pan on medium-low heat and add your sliced onion and a generous pinch of salt.
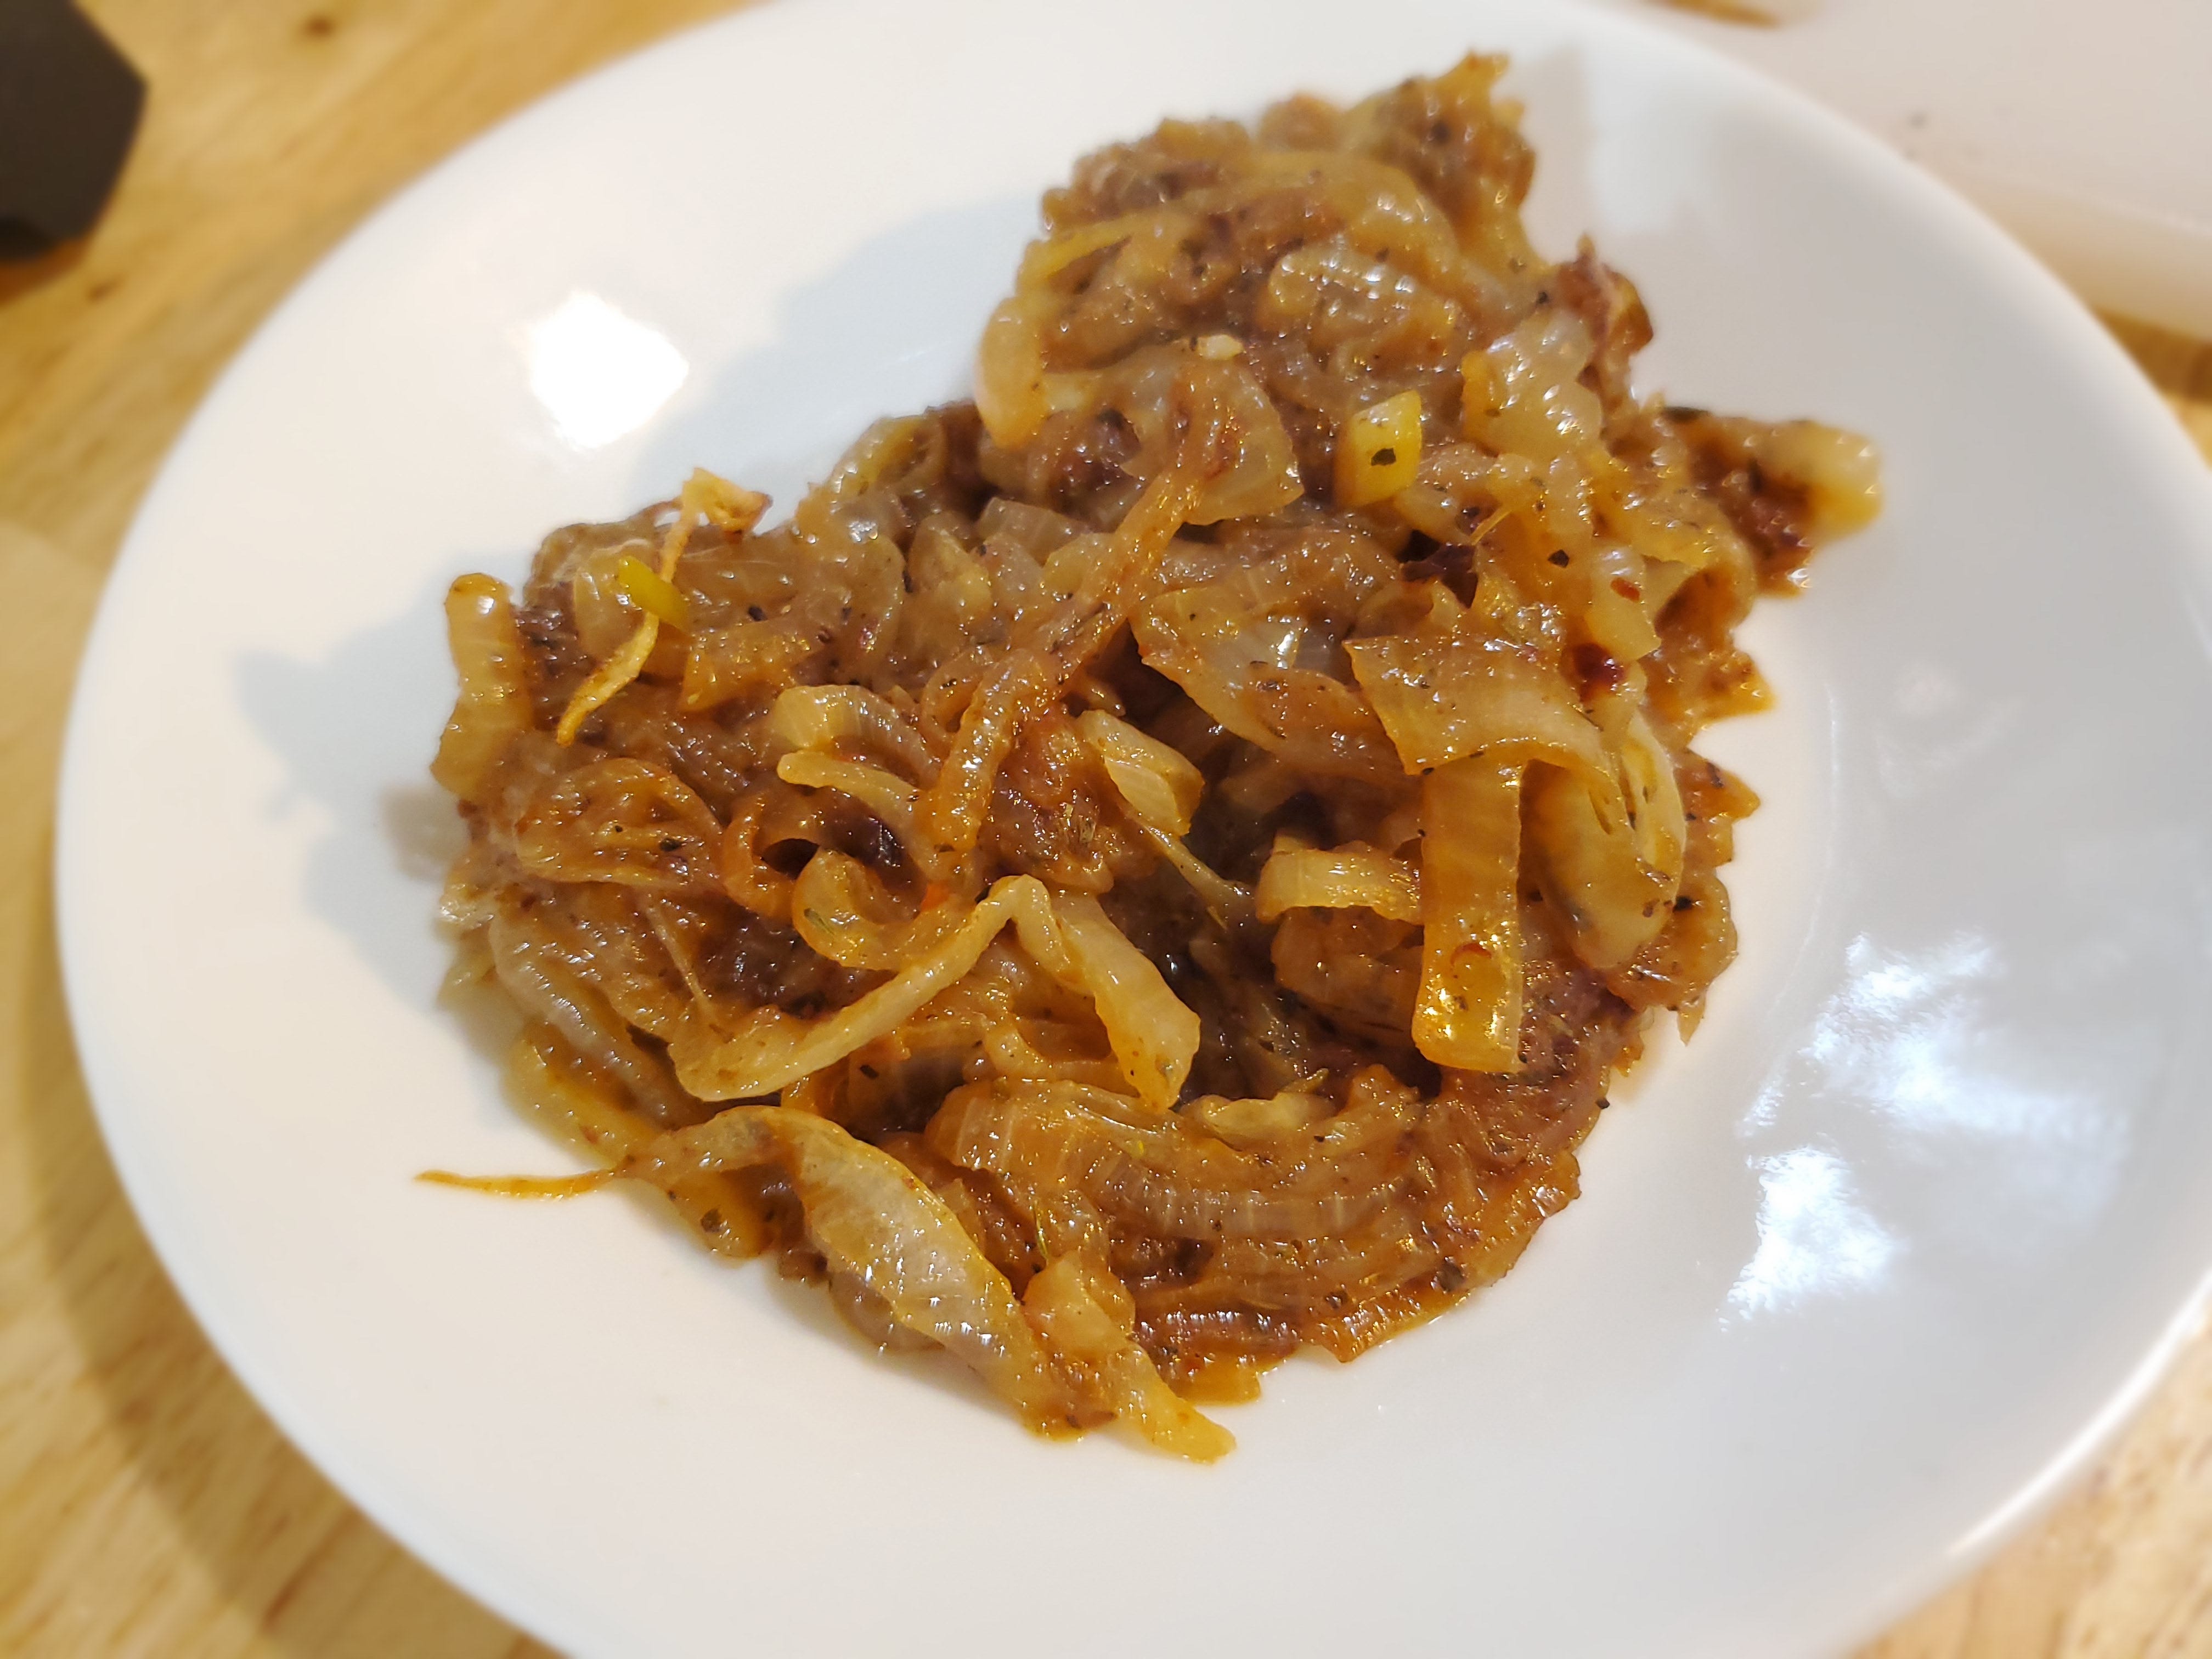
2. Stir periodically for about 10-15 minutes until your onions are a deep brown. They should not be scorched-brown around the edges, but consistently brown throughout.
3. Add your herbs and red pepper flakes to the mixture and cook until the herbs are fragrant. Then remove from heat and set the onions aside in a separate bowl.
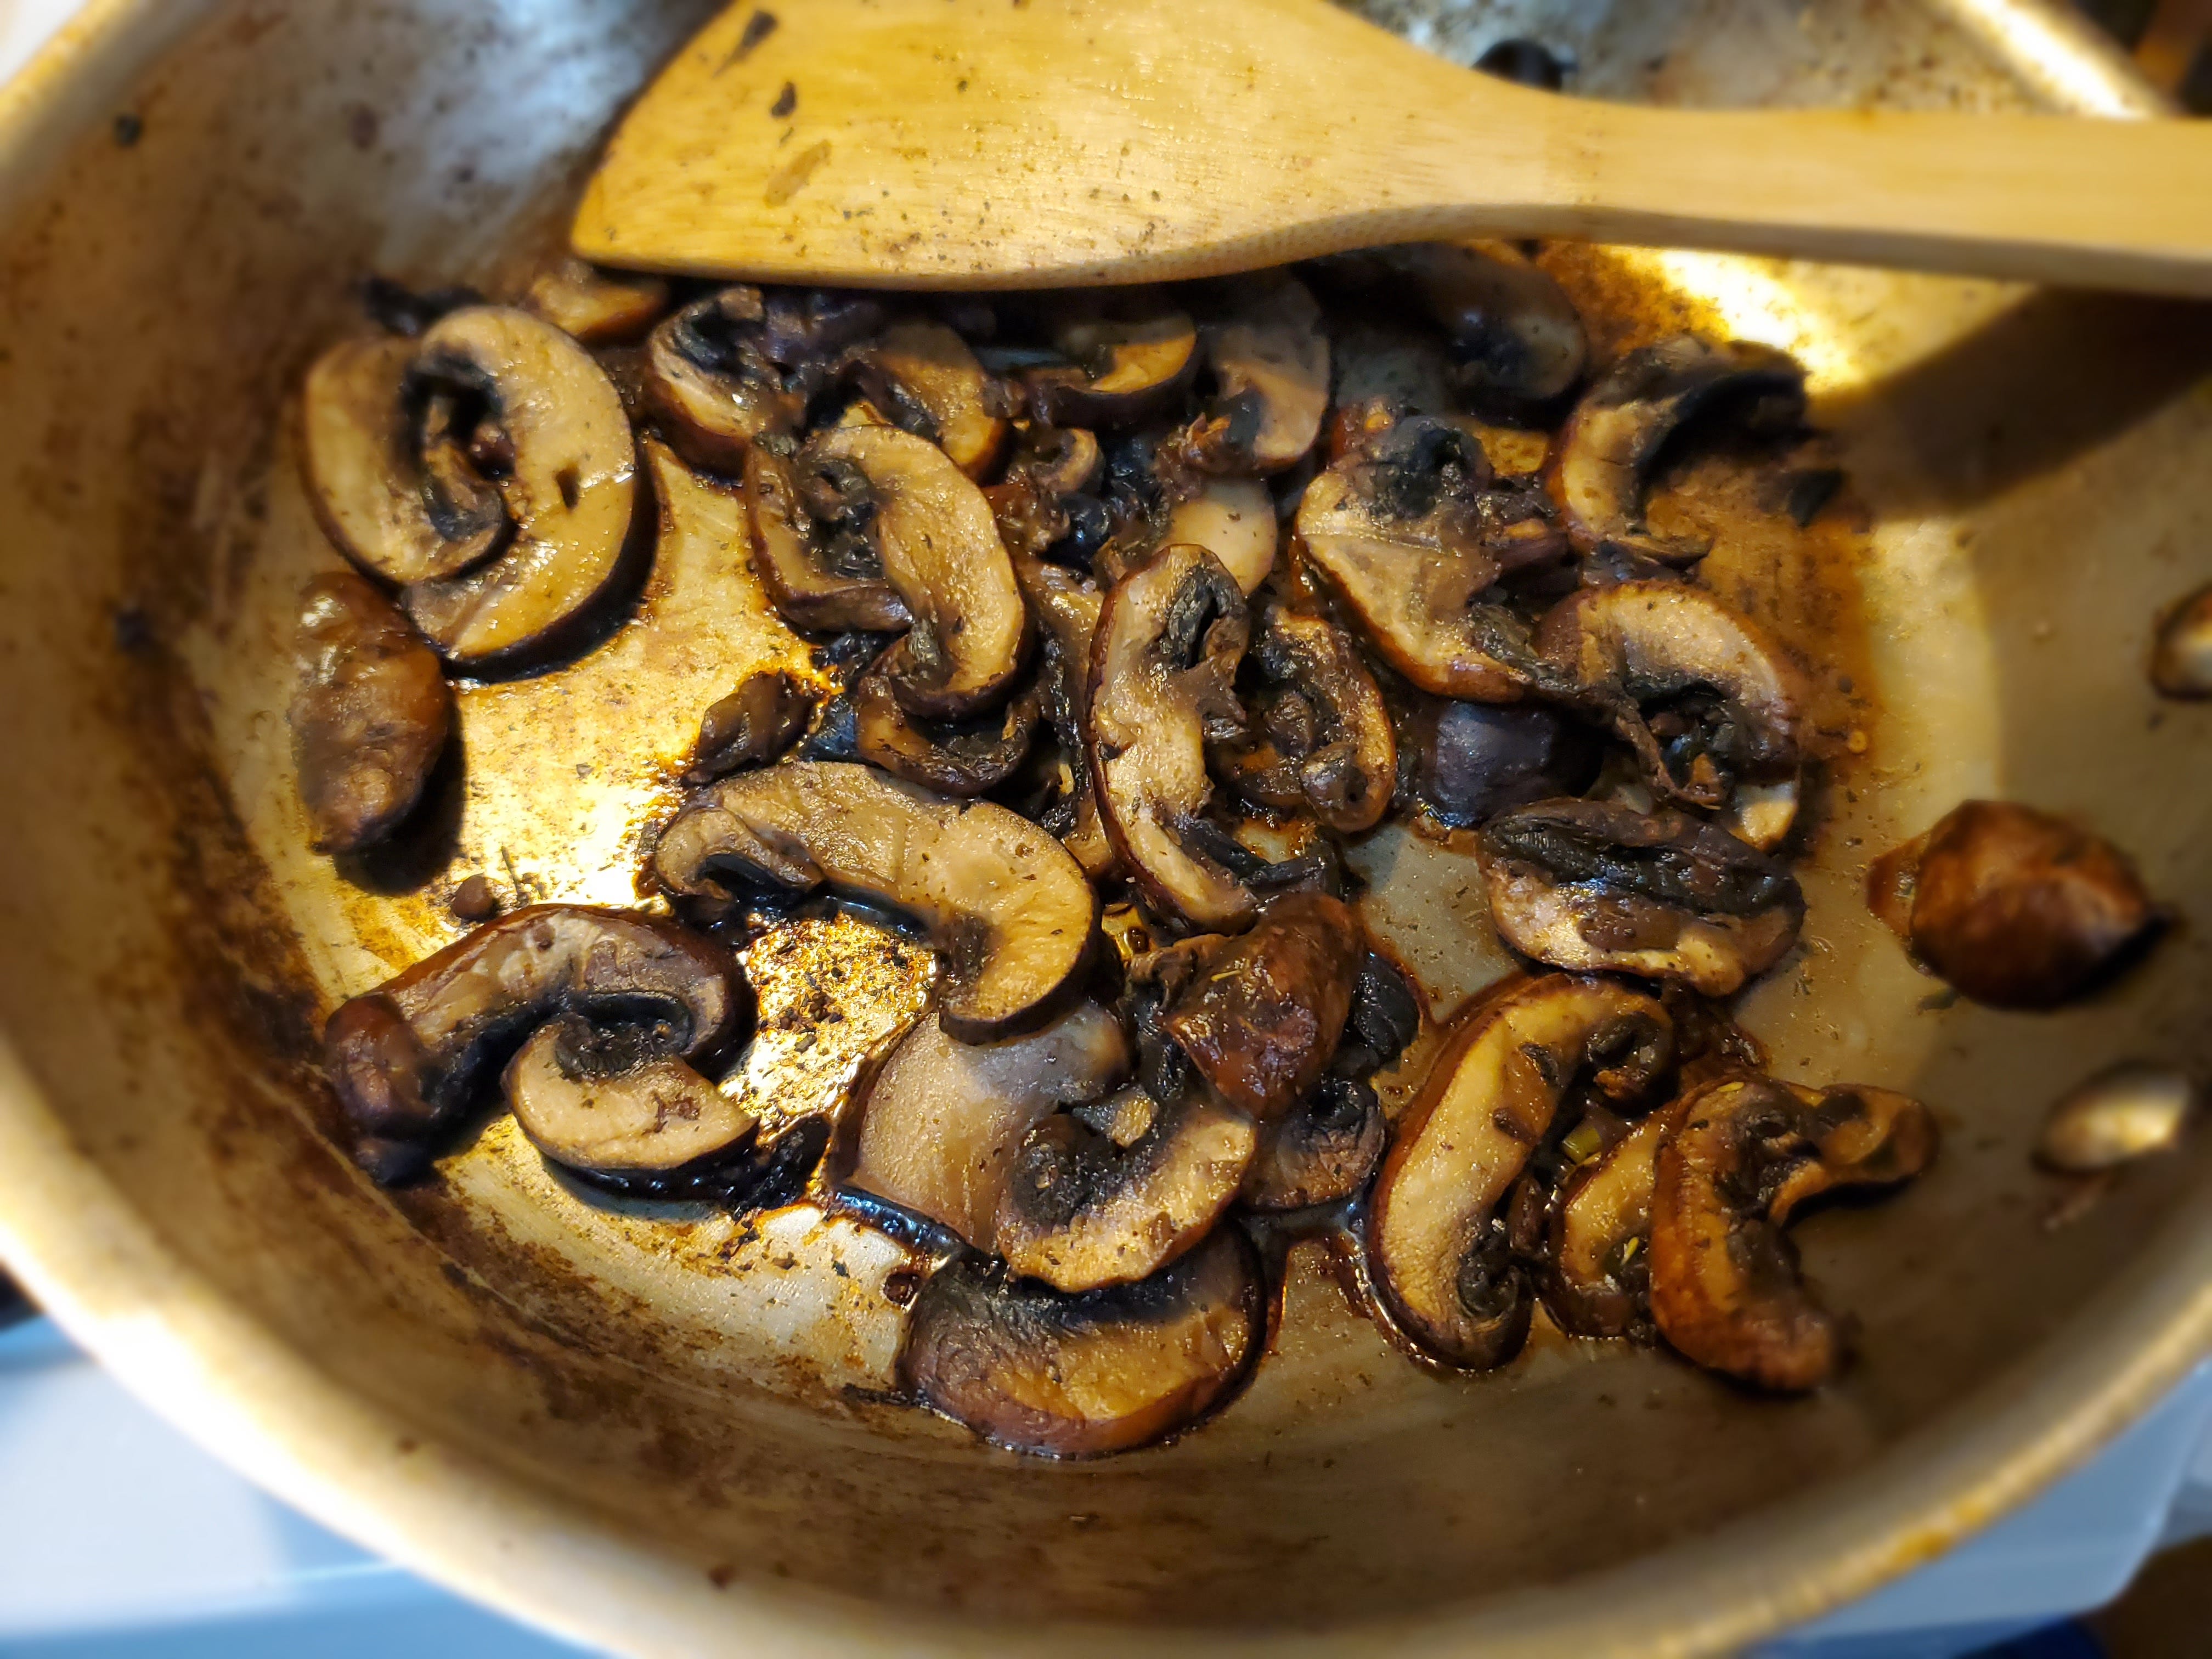
4. Add your sliced mushrooms to the pan with another generous glug of olive oil and cook until the mushrooms are softened on the outside but with a firm center.
To assemble and bake:
1. Preheat the oven to 375F and line a large baking sheet with parchment paper.
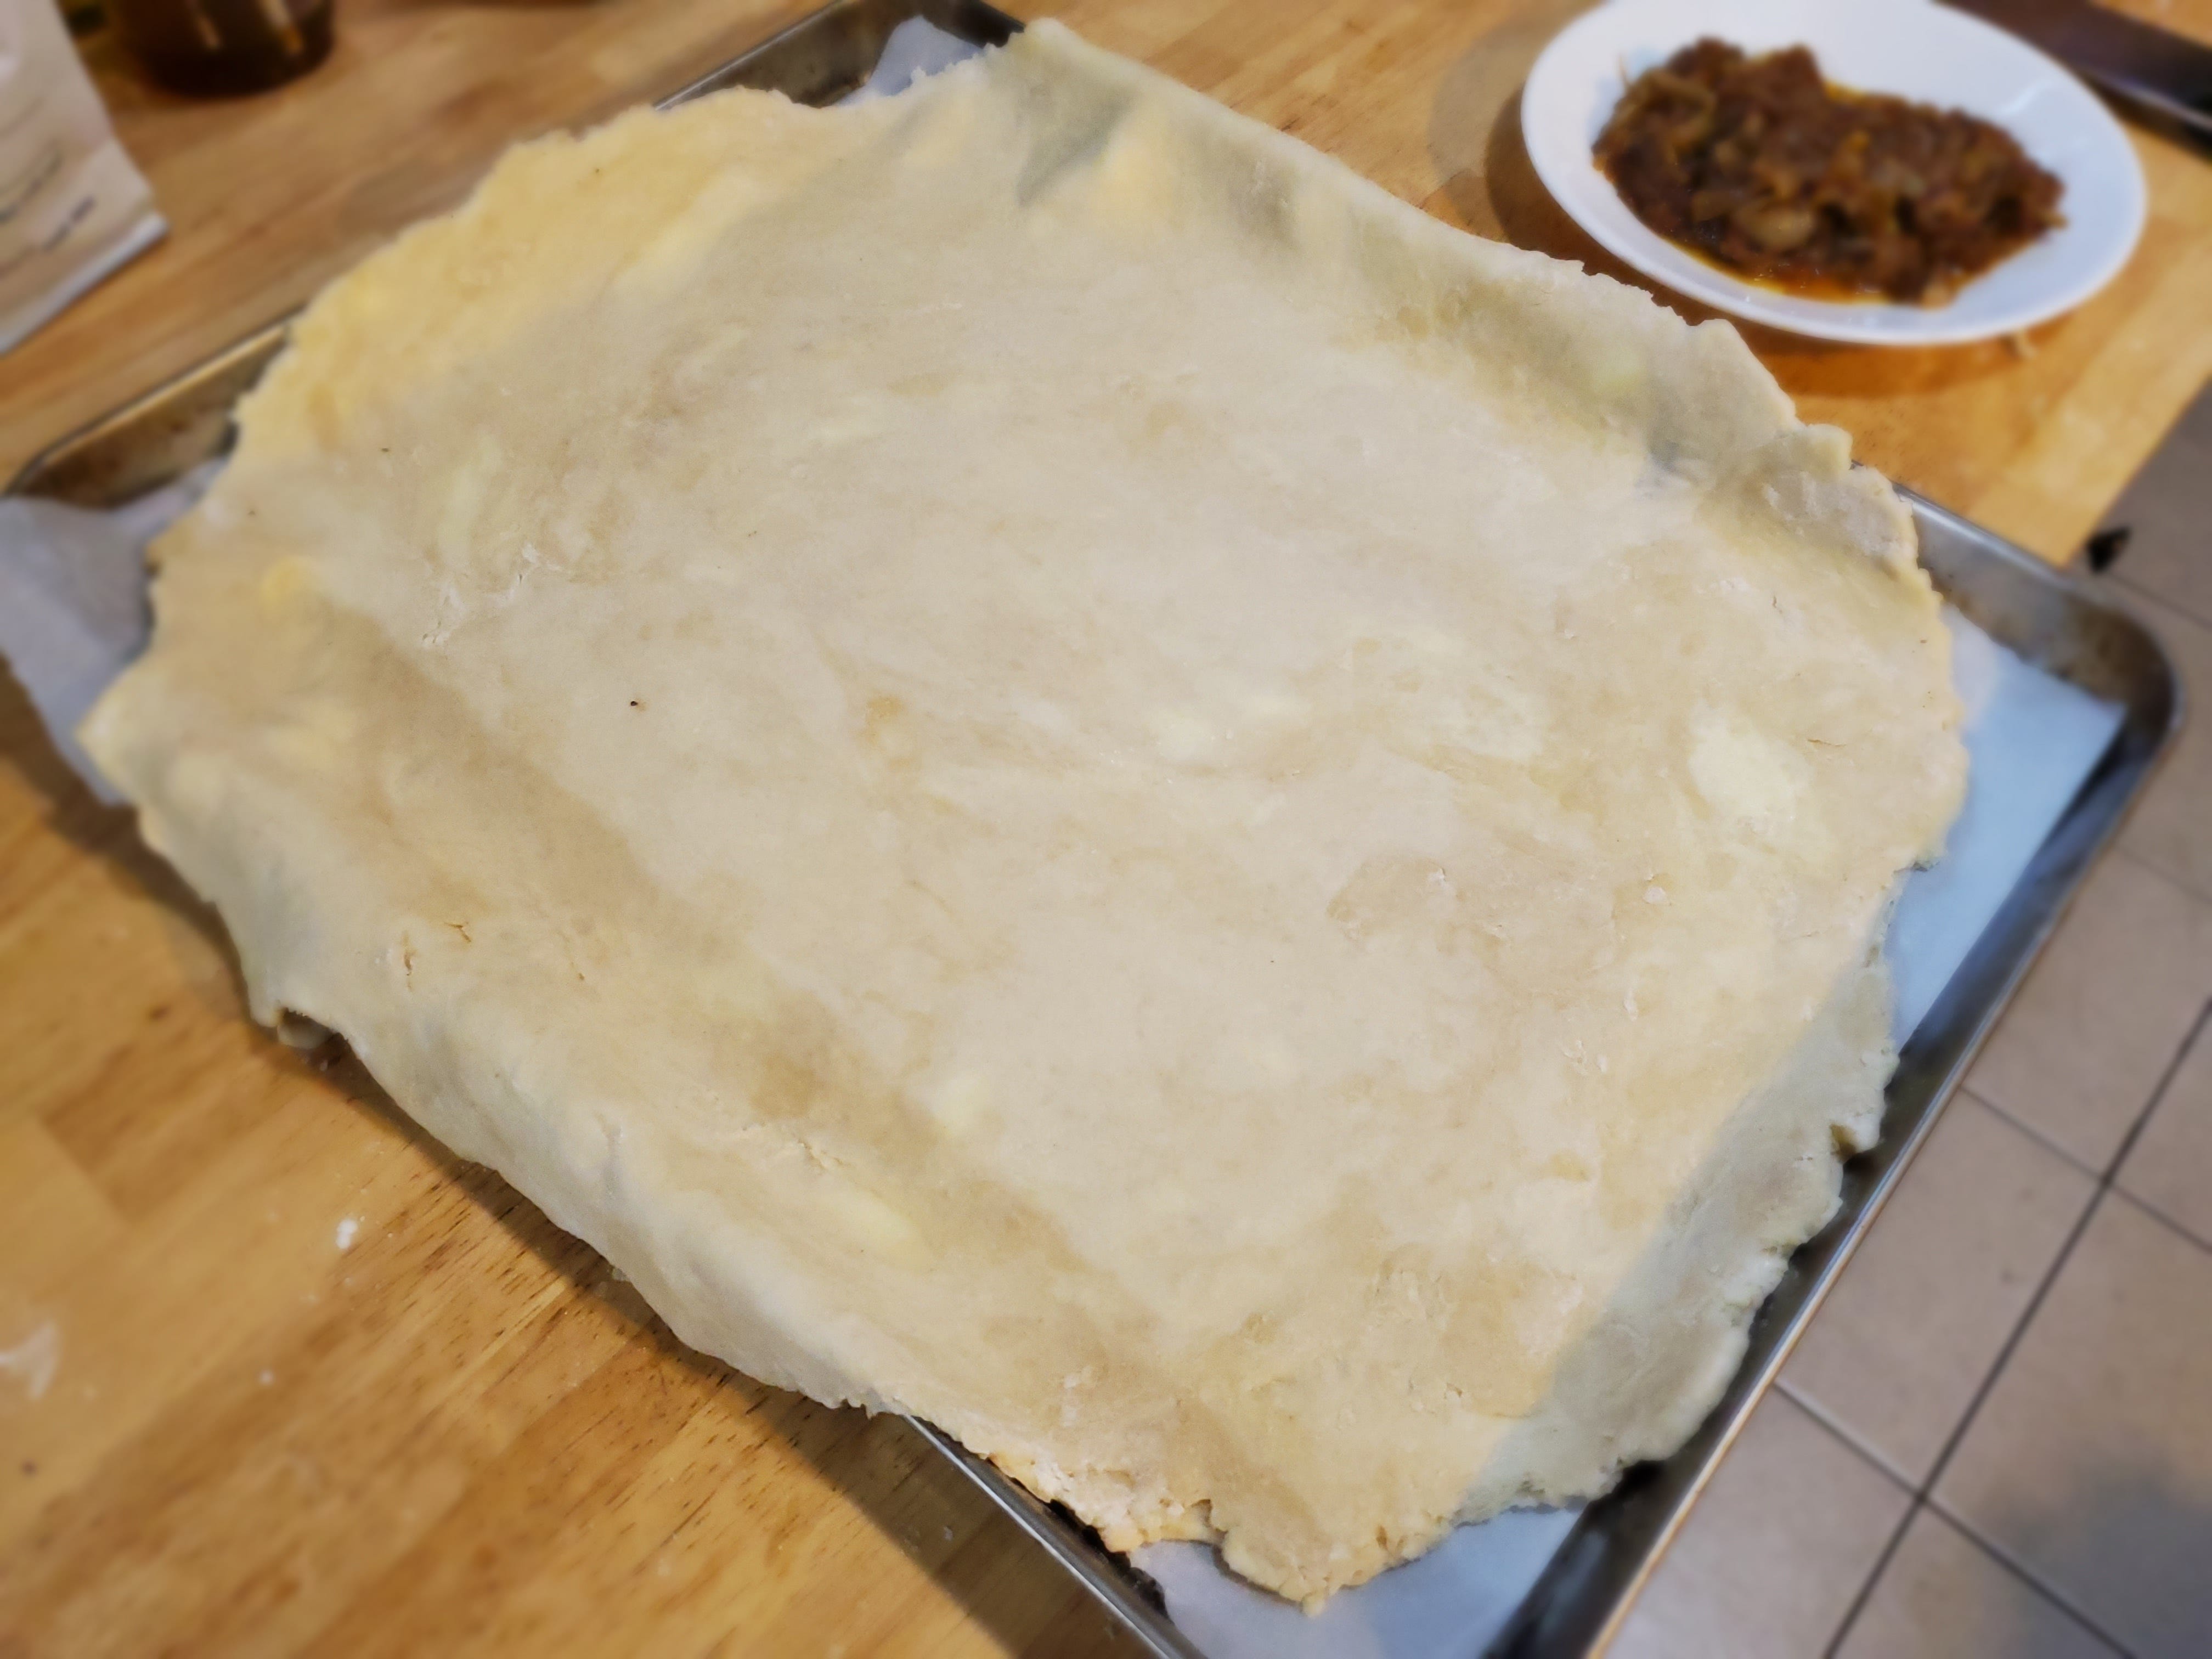
2. Take your chilled dough from the freezer and roll out on a generously floured counter.
3. Be careful to roll outward in all directions from the center to create an even 1/4-inch thickness. The diameter of the circle does not matter as much as the thickness of the dough.
4. Using your rolling pin (or just your hands, tbh) place your rolled-out dough onto the prepared baking sheet. The sides will certainly hang off the pan, but no fear!
5. Spread your cooled onion mixture in the center of the dough, spreading outward but leaving about a 2-inch space from the edge.
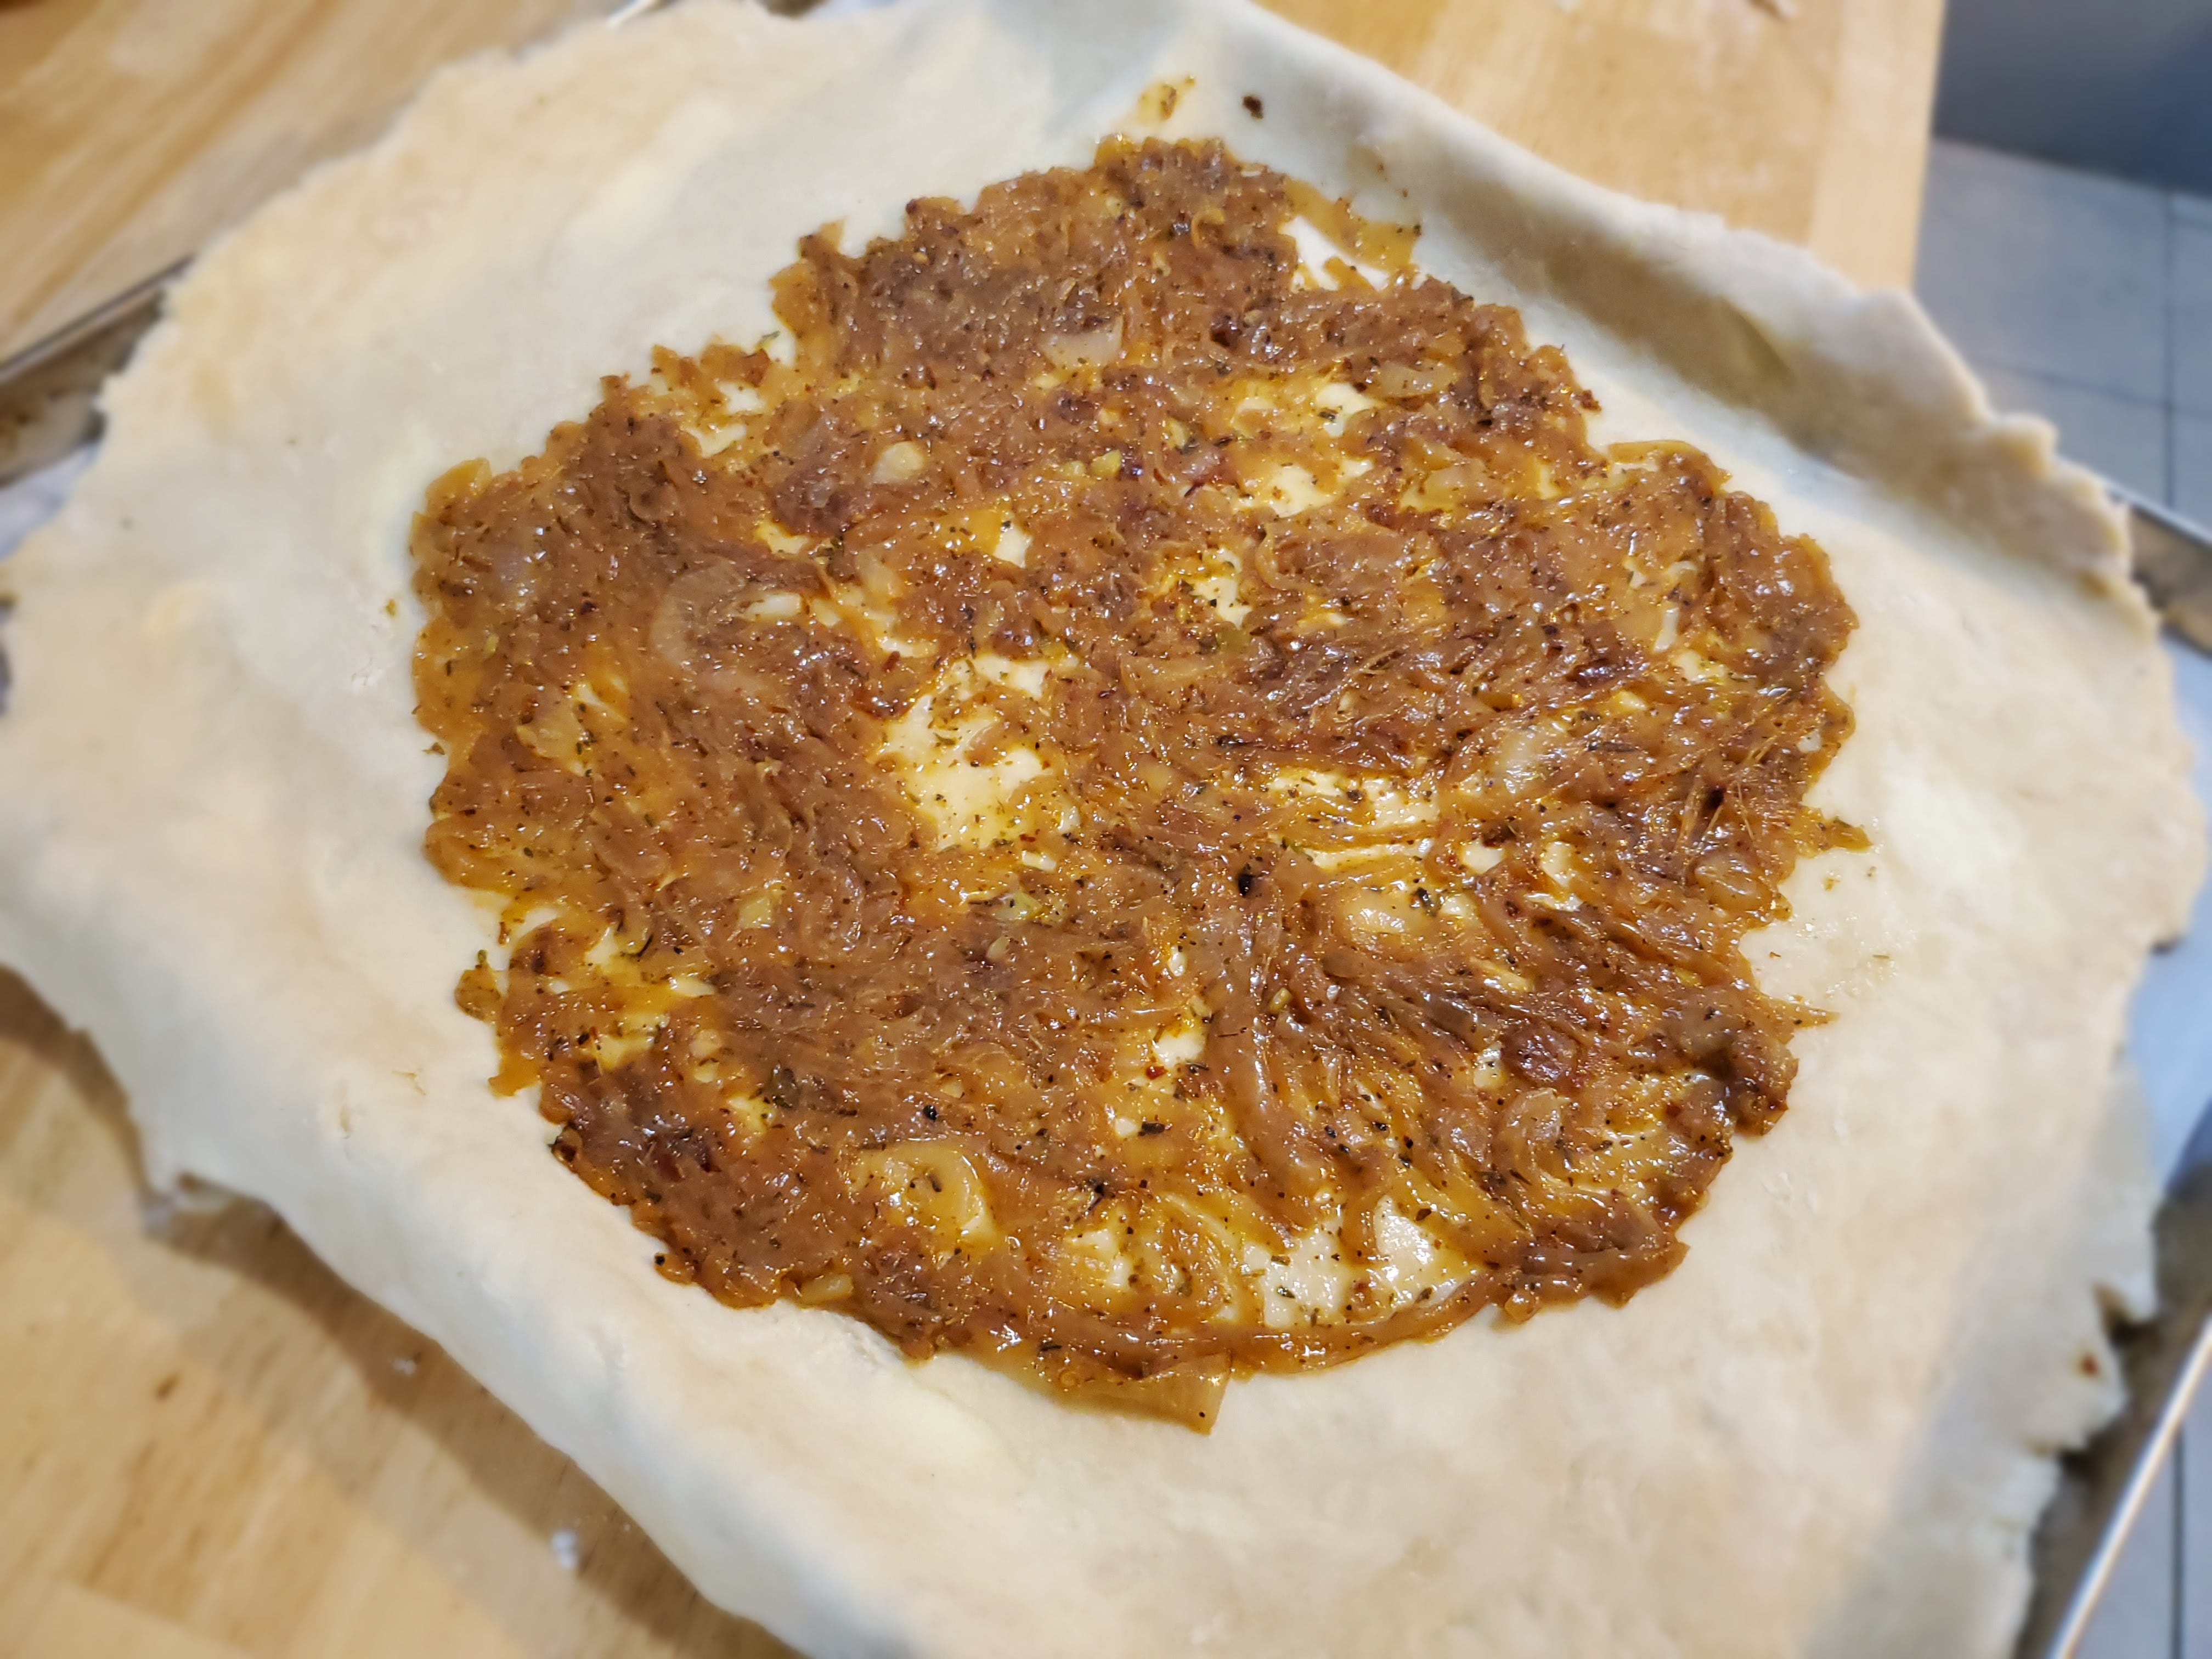
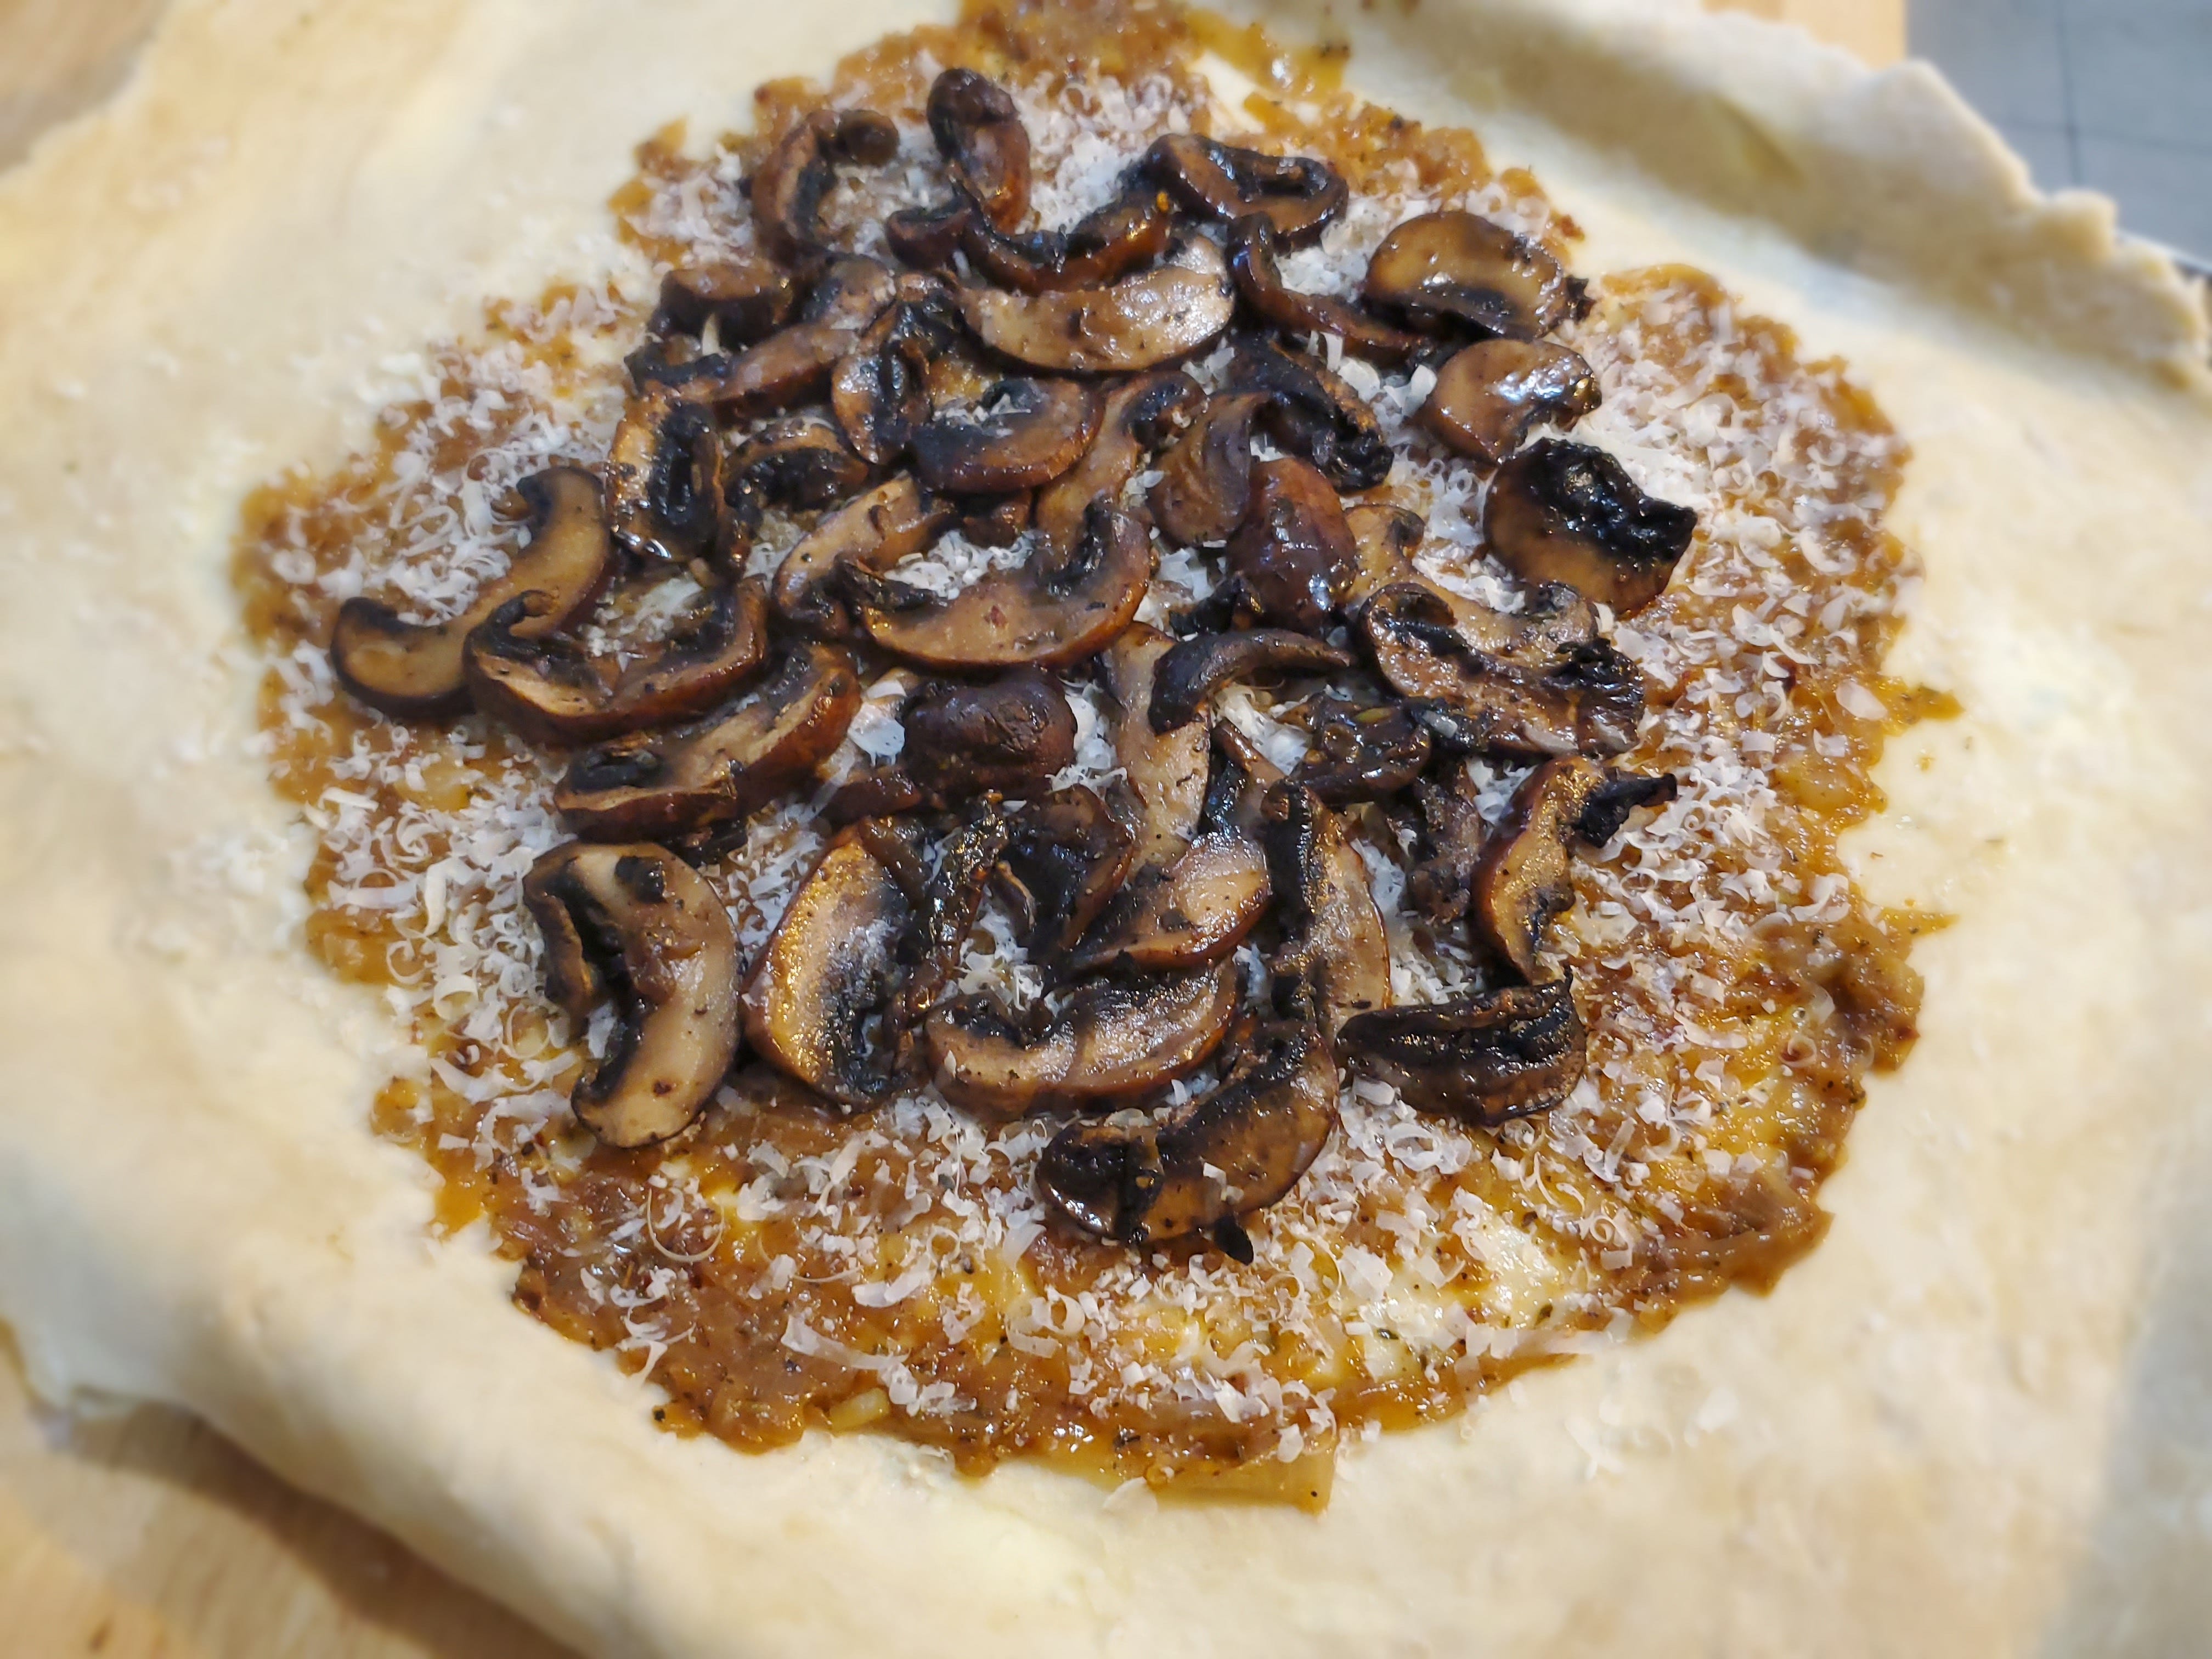
6. Add 1/2 cup of grated parmesan cheese over the onions.
7. Arrange your mushrooms on top, making sure they evenly cover the onions.
8. Begin by folding one edge of the dough up and over the mushroom/onion mixture, then continue—tucking the sides inward to create a rippled effect. See photo for reference.

9. Once the entire galette is folded, pop it into the freezer for about 15 minutes to allow the butter to firm up once more to ensure the most flaky crust.
10. Remove from the freezer and brush the crust with egg wash and sprinkle with flaky sea salt.
11. Place the galette into the oven for about an hour until it is deeply golden. I find people do not give their pies/tarts enough time in the oven to fully develop the texture and flavor of the dough—so be patient and do not fear a darkened exterior!
Optional salad for topping:
1. Boil a pot of salted water and add your sugar snap peas to cook for exactly 1 minute.
2. Drain the peas (a spider strainer is best) and quickly submerge in ice water to halt the cooking process.
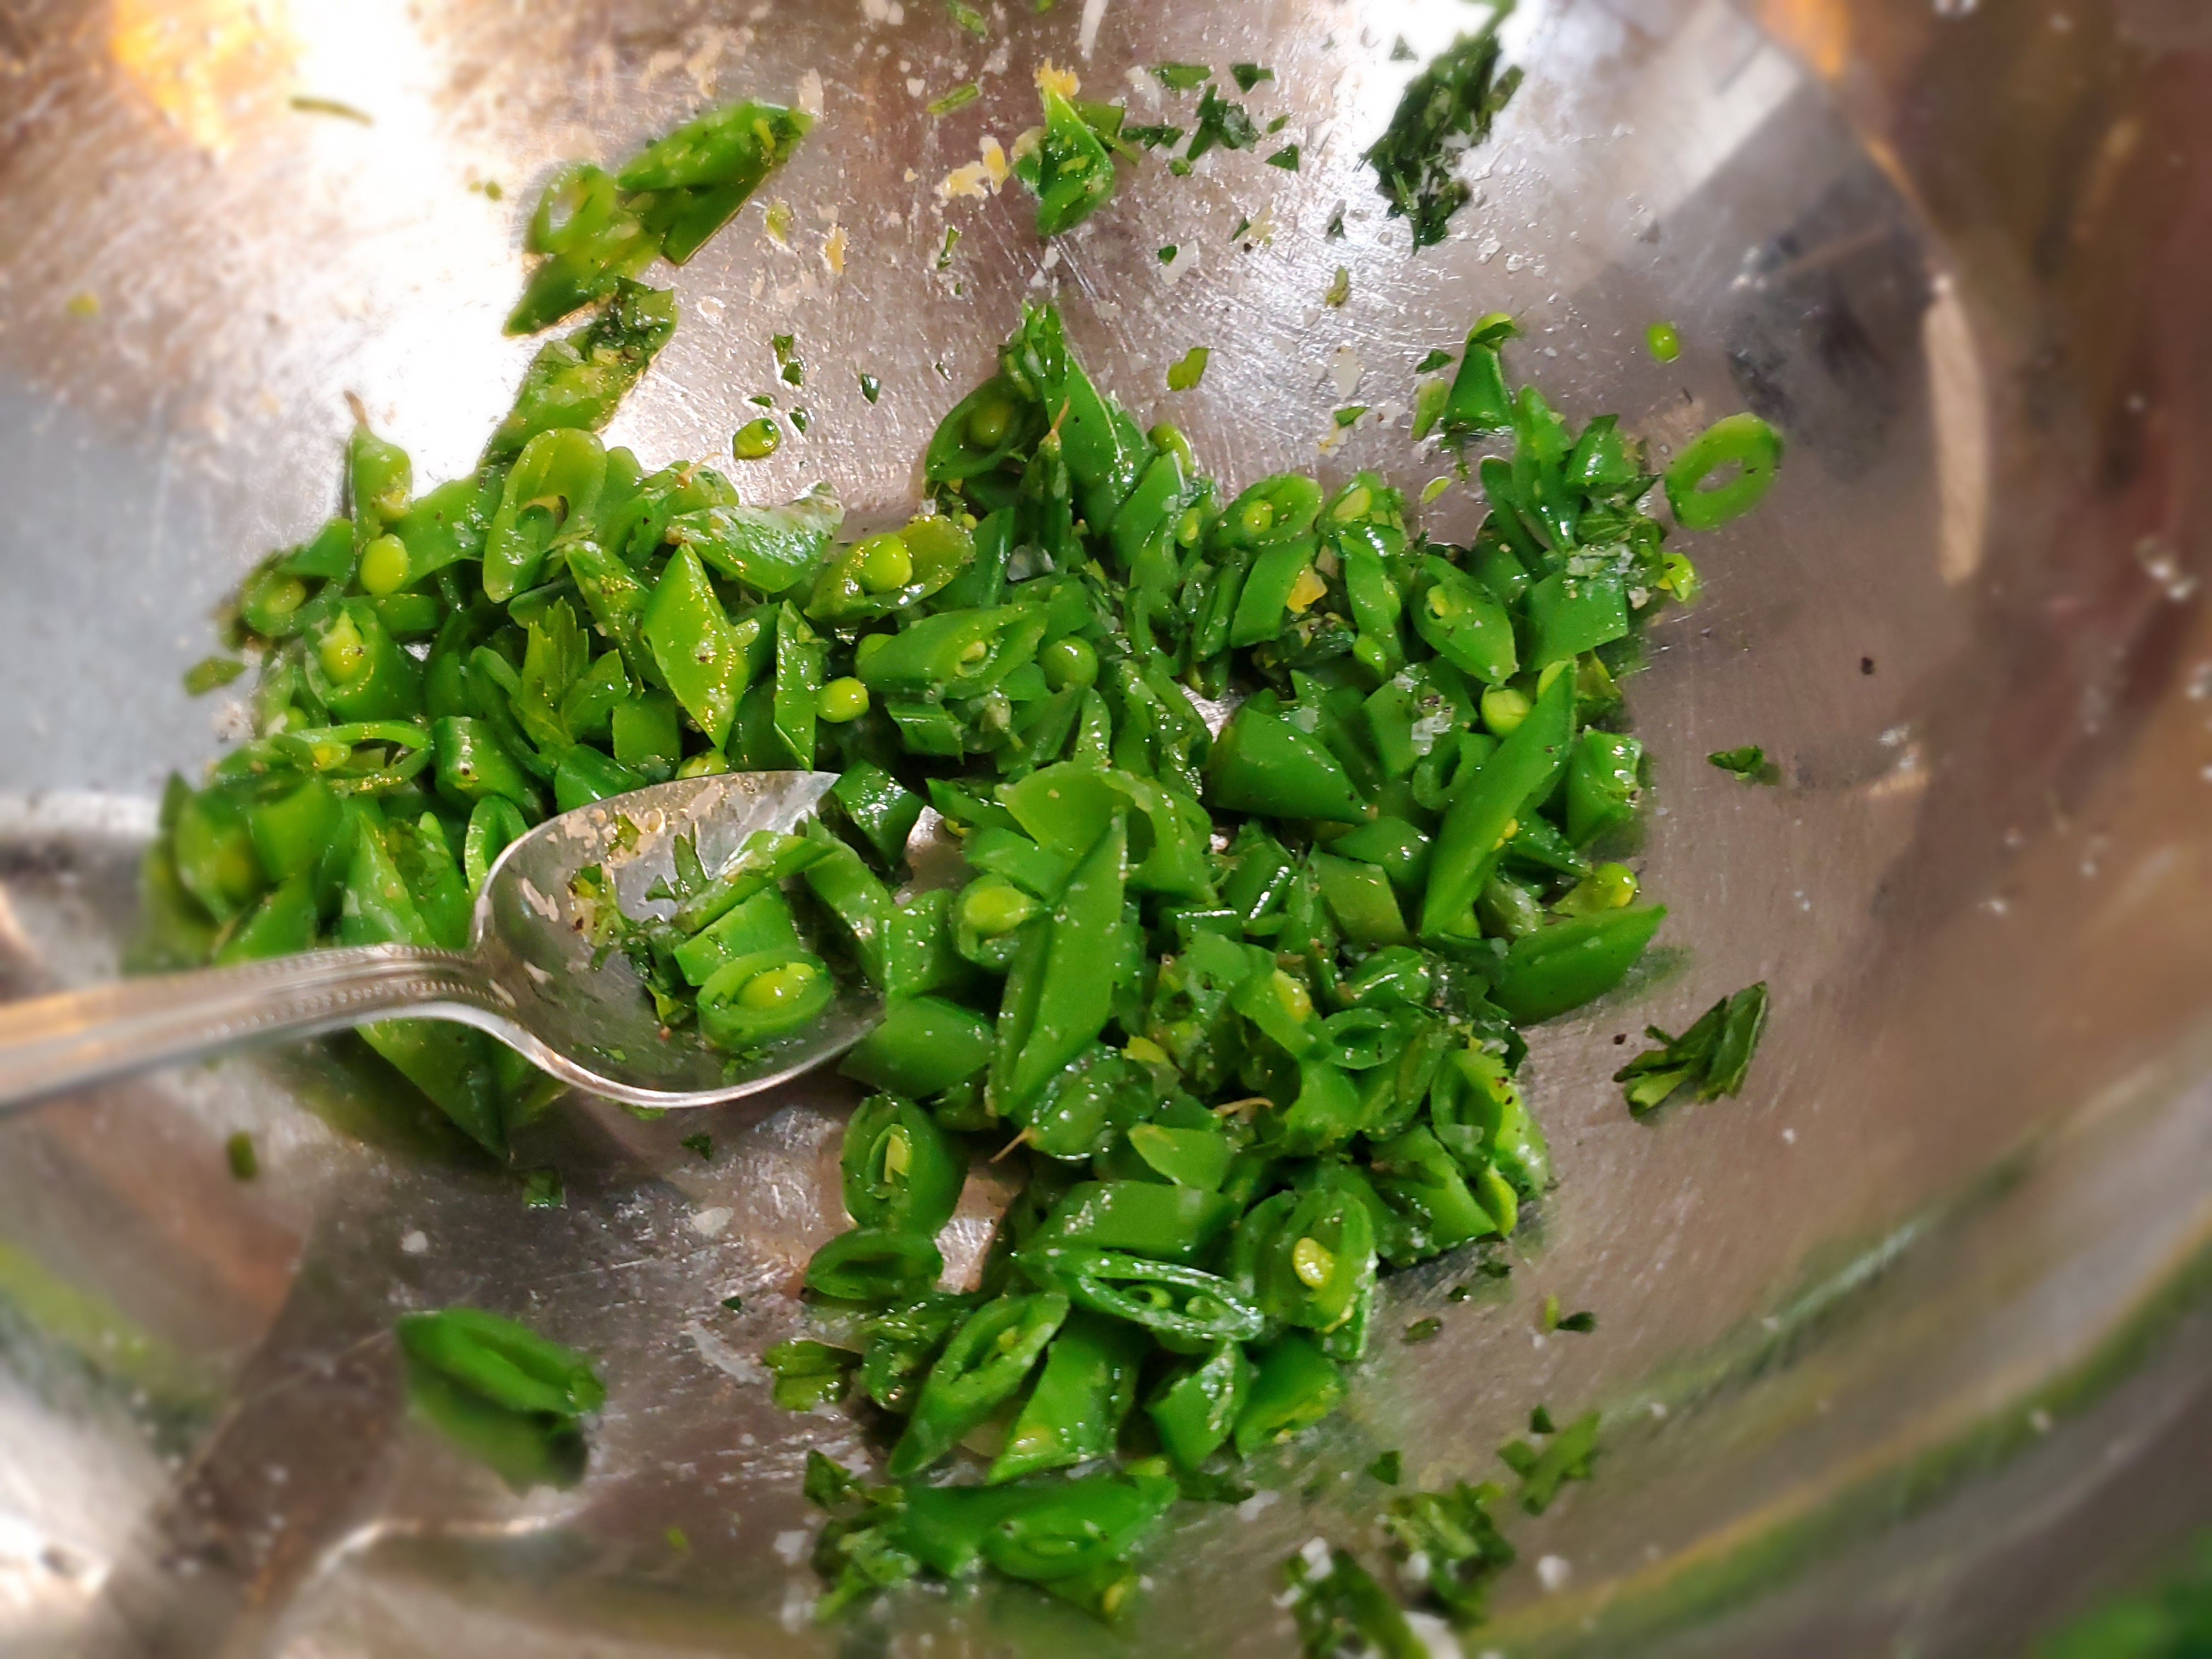
3. Dry the peas on a paper towel and then slice them on a diagonal into small pieces.
4. Toss the chopped sugar snap peas with parsley, lemon, oil, salt, and pepper and taste to check for flavor balance. Keep the salad in the fridge until serving.
5. Once the galette is cooked and cooled until just warm, top with the cold salad, add parmesan cheese if you like, and serve!
Meet the Chef
Q: Where do you find baking inspiration?
A: Cooking for others inspires me. If I know I am seeing friends or family, I head for the kitchen immediately. I am inspired by incorporating their favorite things.
Q: Any other food “hobbies”/interests?
A: If only food were its own verb. I truly love every part of it—eating, cooking, baking, reading about food, talking about food, etc.
Q: What are your favorite flavors to bake with? Do you have a favorite utensil or baking tool?
A: Cardamom is by far my favorite thing to bake with. I find a way to edge it into nearly every baked good I can because of its magical flavor. Its flavor is both flowery and warm, and therefore wholeheartedly addictive. The bench scraper is the most perfect kitchen tool.
Thanks for reading! Subscribe to Sundays are for baking NOW to receive newsletters a few times a month with recipes, baking inspiration, and more!
Follow on instagram (@sundaysarefor_baking) and please like, share, and comment. ~L