

Welcome to Sundays are for baking
Welcome to Sundays are for baking
happy pie π day!

Welcome to the first issue of Sundays are for baking! Here I’ll be sharing recipes, photos, food stories, and more. Please subscribe for recipe newsletters in your inbox!
I love to bake. I started learning with my parents and family, and I have been baking a lot in the recent past. I’m looking forward to sharing some of my own recipes—ones I make regularly and rely on—as well as new recipes I try, ones I find or adapt, and some from family and friends—along with any other interesting baking and food content I can think of (there is a lot of cool stuff out there!).
I bake a lot at home and (as part of this project and my life’s mission to make and eat patisserie) I’m setting off to try baking new and different things—baked goods, cakes, bread, pastry, and more! I’m hoping to be able to break recipes down simply, and share some tips I find useful (and perhaps pitfalls I fall into?) along the way. Things don’t have to be perfect - because we’re just cooking and eating. Bake with me! I’m planning to publish regularly. Oh, and, I should add—confections and cooking allowed :)

I felt that today was a fitting day to launch Sundays are for baking because it’s PI(E) day (3/14)! I am not sharing a pie recipe today, however, but an Irish soda bread recipe!
I love to make Irish soda bread. I have been making it for years, and I learned to make it with my dad. It is an integral part of St. Patrick’s Day dinner—and St. Patrick’s Day is this coming Wednesday, 3/17.
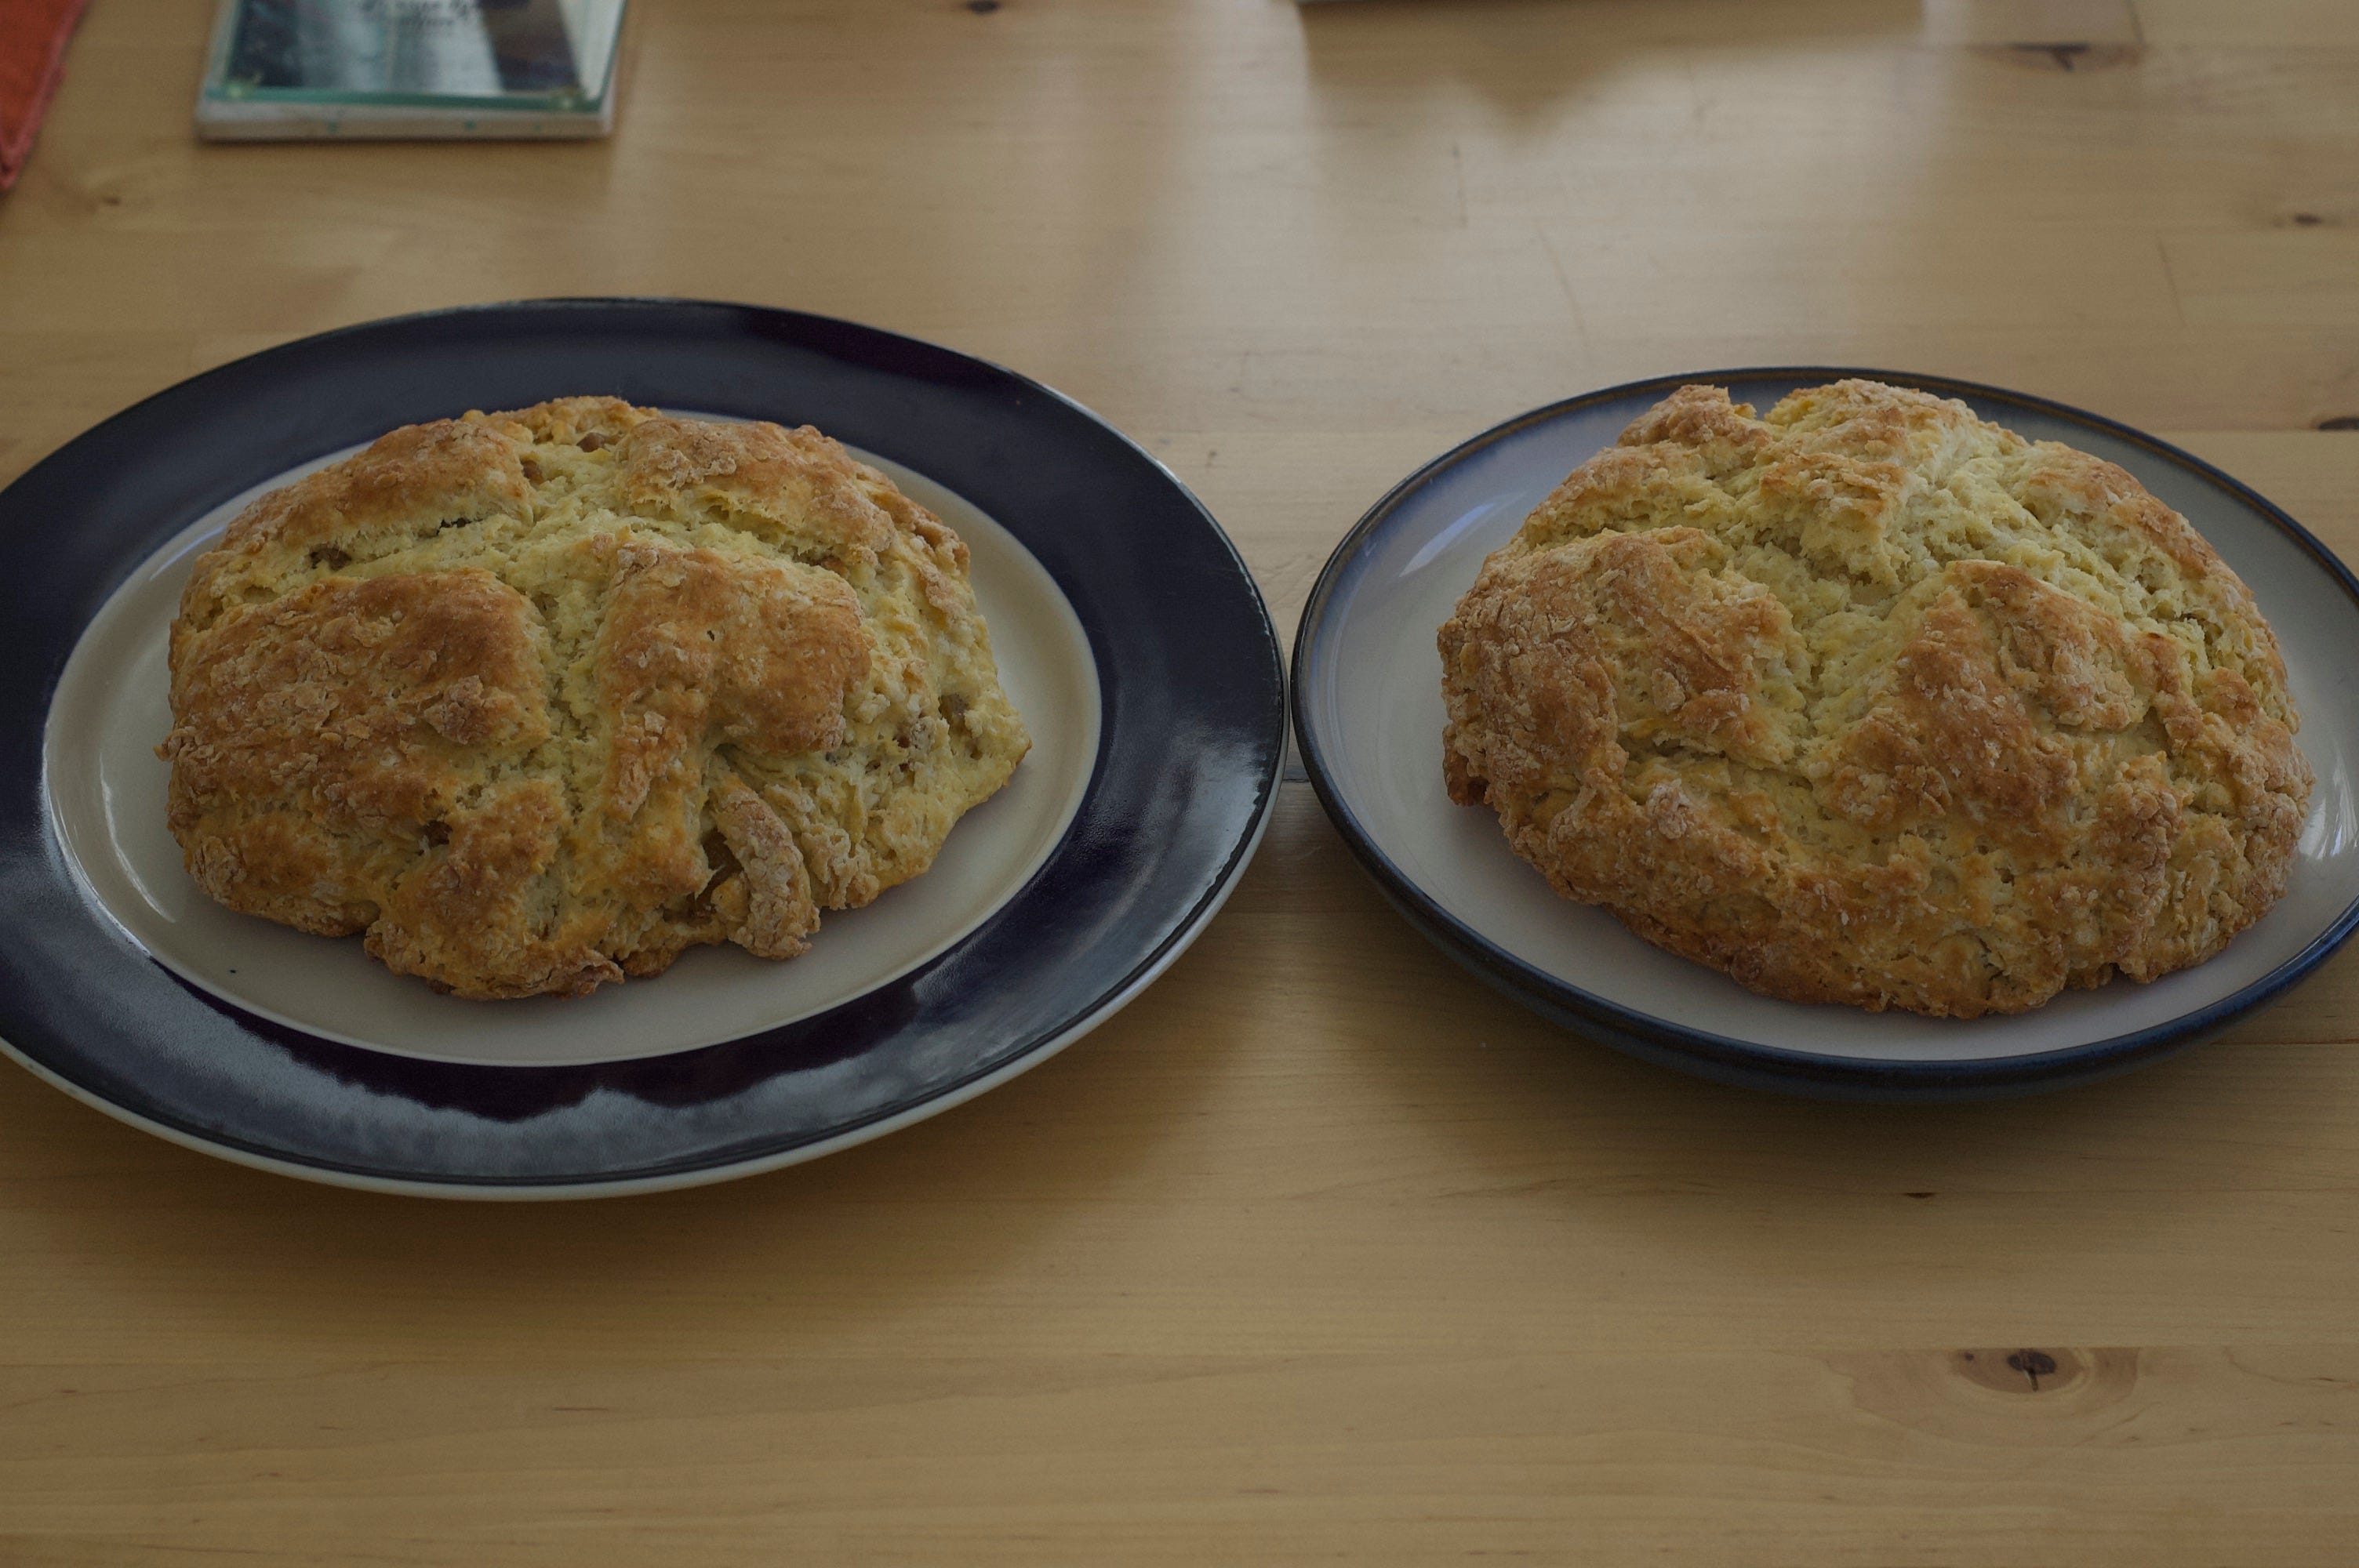
The keys to Irish soda bread are the leavener and—as with biscuits, scones, etc.—cold butter. The recipe I’m sharing today is based on The Joy of Cooking. Classic Irish soda bread has golden raisins distributed in it. I chose to make two loaves—one plain loaf and one loaf with golden raisins—but I didn’t want two full-size loaves, so I adjusted the recipe, multiplying the ingredient amounts by 1.5, to make two medium-sized loaves.
Ingredients: (these amounts are for 1.5 times the recipe I started with)
3 cups flour, sifted
2 1/4 teaspoons double-acting baking powder
3/4 teaspoon baking soda
3/4 teaspoon salt
1 1/2 tablespoons sugar
6 tablespoons chilled butter
golden raisins
1 egg, beaten*
1+ cup buttermilk* (I used a DIY method to make this with 1 cup of milk and 1 tablespoon of fresh lemon juice)
*technically, to multiply the recipe by 1.5 like I did, you would need 1 1/2 eggs — I used 1 egg and I upped the milk
The small amount of sugar is crucial to the Irish soda bread’s flavor; you don’t want to go over and make the loaf sweet. Also like scones and biscuits, this recipe calls for cutting cold butter into the dry ingredients—you can do this with two knives, a pastry cutter, your hands, or a food processor. I have been using a food processor recently, which I find works well!
When you’re combining the wet ingredients with the dry ingredients, you may notice you need a little bit more milk (I did). I find it’s best to add the milk in splashes, until everything is just combined (ie, you don’t have a lot of dry flour-y areas in the dough, but it’s also *not* really wet). Overall, you don’t want to over-work the dough because then your bread will be tough.
1. Preheat oven to 375F. Line baking tray(s) with parchment paper. (I was able to just fit the two medium-sized loaves on my 9” x 13” baking tray, but it was tight. The loaves won’t spread that much, but you don’t want them too close together; when you’re making one full-size loaf, the recipe calls for a 8” round baking pan.)
2. I used a DIY method to make the buttermilk for this recipe, which works best if it has time to sit—so I prepared it first. To make 1 cup buttermilk from milk and lemon juice: measure 1 cup milk, squeeze and strain 1 tablespoon of lemon juice, add lemon juice to milk and stir with a wooden spoon. Let the mixture sit until you need to use it—at least a few minutes.
3. In a large bowl, combine flour, baking powder, baking soda, salt, and sugar.
4. Cube the butter. Distribute the cubes into the dry ingredients (so that each gets coated in flour and they’re not stuck together). Cut butter into dry ingredients—using two knives, your hands, a pastry cutter, or a food processor—until mixture is pretty even and crumbly. —> I used a food processor. To do this, tip the dry ingredients into food processor fitted with blade. Distribute the cubed butter into food processor as described. Blitz the dry ingredients/butter cubes for at least a few long pulses, then keep pulsing briefly and checking on it until you have the right consistency. I look for the consistency of cornmeal—or even a little coarser—but you don’t want to pulse too long and have a consistency that’s finer than cornmeal. It doesn’t have to be perfect, but you don’t want large chunks of butter throughout. When you’re done, put ingredients back into large bowl.
Note: Normally at this point in the recipe, you would stir golden raisins into the flour and butter mixture; since I wanted to make two loaves—one plain and one with raisins—I waited and did that step near the end.
5. Add egg to your measuring cup with “buttermilk” (see step 2) and mix them together; add to the dry ingredients, stirring until mostly blended. As I mentioned above, you may find you need a little more milk if the mixture is too dry, but add slowly and only add as much as you need and not more. (If you made buttermilk from scratch and don't have any left at this stage, it’s OK to use regular milk for this.) Make sure not to over-mix.
6. Turn dough out onto a lightly floured surface. Divide dough into two halves (as best you can estimate). Knead each section of dough briefly to combine, until the dough is a bit more consistent (don’t over-knead). If you’re only adding raisins to one loaf (as I did), add them now as you’re combining the dough—distribute a handful or so into the loaf as you’re kneading. (Do your best to distribute the raisins evenly and work them in; I find it more difficult to do at this point rather than earlier in the recipe—see note after step 4).
7. Form loaves into round balls and place them onto baking tray(s) with parchment paper.
8. Try not to have any raisins poking out of the surface or bottom of the bread, because they will likely catch in the oven. Flatten the loaves slightly—they shouldn’t become flattened disks, but rather like flatter mounds.
9. Slash the tops of the breads by pressing a clean knife in the dough in a criss cross shape on the top of each loaf; the cuts can be fairly deep.
10. You can then bake the loaves as is, or you can brush the tops with buttermilk or milk. Both methods produce slightly different crusts—both are delicious!
11. Bake approximately 35 to 40 minutes or until crusts are a light golden brown. Baking time will vary, of course (try baking for 25-30 minutes and then check on them as needed till they are done).
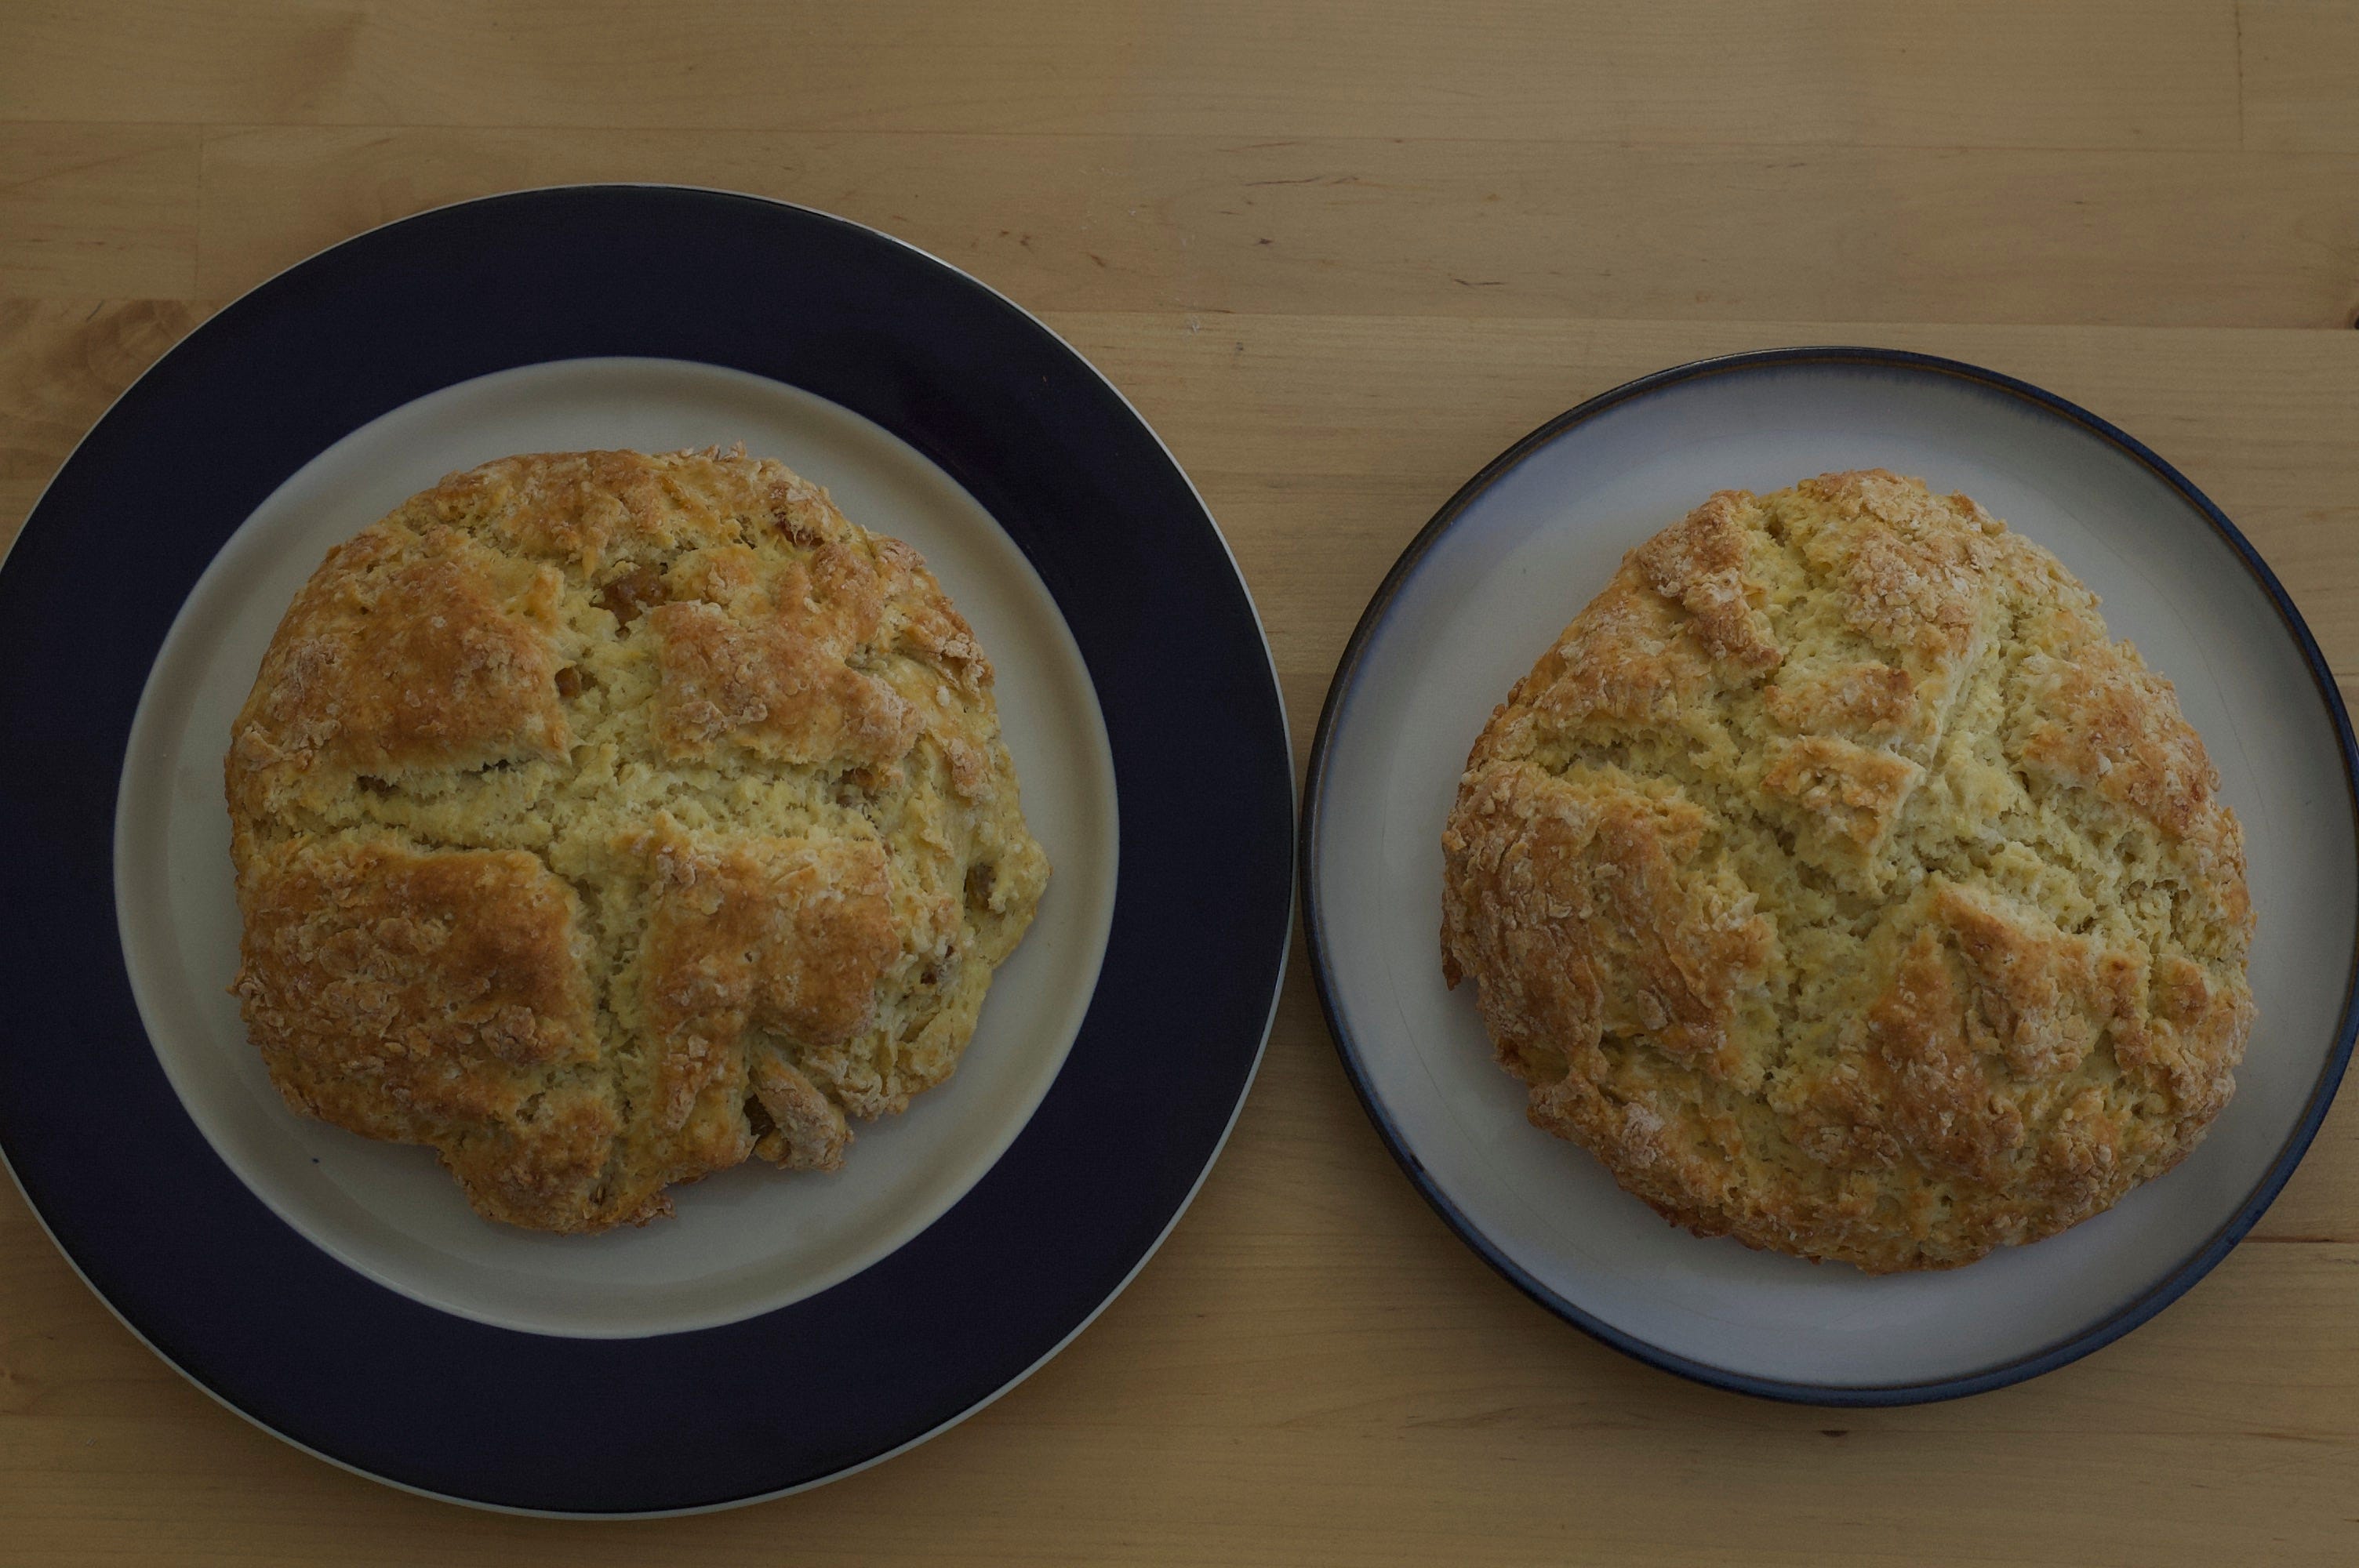
These loaves are so beautiful, and tasty. We eat them plain, with butter, for breakfast, with soup. If serving with butter, make sure it’s good butter! This bread is also really easy and fast to make; it’s a classic quick bread (no proving), so I like to make it often—even when it’s not St. Patrick’s Day.
Thanks for reading! Please like, comment, share - and subscribe if you haven’t yet!